IEI Hub Manager Professional v8 - Linear
IEI Hub Manager Professional v8 - Linear
IEI Hub Manager Professional v8 - Linear
You also want an ePaper? Increase the reach of your titles
YUMPU automatically turns print PDFs into web optimized ePapers that Google loves.
170<br />
Chapter 6: Database<br />
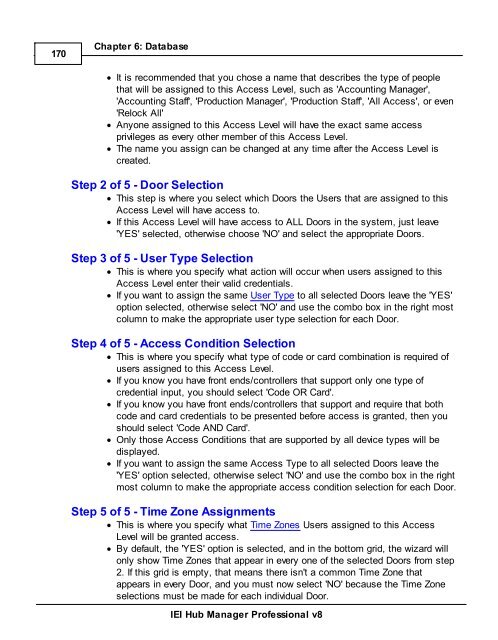
· It is recommended that you chose a name that describes the type of people<br />
that will be assigned to this Access Level, such as 'Accounting <strong>Manager</strong>',<br />
'Accounting Staff', 'Production <strong>Manager</strong>', 'Production Staff', 'All Access', or even<br />
'Relock All'<br />
· Anyone assigned to this Access Level will have the exact same access<br />
privileges as every other member of this Access Level.<br />
· The name you assign can be changed at any time after the Access Level is<br />
created.<br />
Step 2 of 5 - Door Selection<br />
· This step is where you select which Doors the Users that are assigned to this<br />
Access Level will have access to.<br />
· If this Access Level will have access to ALL Doors in the system, just leave<br />
'YES' selected, otherwise choose 'NO' and select the appropriate Doors.<br />
Step 3 of 5 - User Type Selection<br />
· This is where you specify what action will occur when users assigned to this<br />
Access Level enter their valid credentials.<br />
· If you want to assign the same User Type to all selected Doors leave the 'YES'<br />
option selected, otherwise select 'NO' and use the combo box in the right most<br />
column to make the appropriate user type selection for each Door.<br />
Step 4 of 5 - Access Condition Selection<br />
· This is where you specify what type of code or card combination is required of<br />
users assigned to this Access Level.<br />
· If you know you have front ends/controllers that support only one type of<br />
credential input, you should select 'Code OR Card'.<br />
· If you know you have front ends/controllers that support and require that both<br />
code and card credentials to be presented before access is granted, then you<br />
should select 'Code AND Card'.<br />
· Only those Access Conditions that are supported by all device types will be<br />
displayed.<br />
· If you want to assign the same Access Type to all selected Doors leave the<br />
'YES' option selected, otherwise select 'NO' and use the combo box in the right<br />
most column to make the appropriate access condition selection for each Door.<br />
Step 5 of 5 - Time Zone Assignments<br />
· This is where you specify what Time Zones Users assigned to this Access<br />
Level will be granted access.<br />
· By default, the 'YES' option is selected, and in the bottom grid, the wizard will<br />
only show Time Zones that appear in every one of the selected Doors from step<br />
2. If this grid is empty, that means there isn't a common Time Zone that<br />
appears in every Door, and you must now select 'NO' because the Time Zone<br />
selections must be made for each individual Door.<br />
<strong>IEI</strong> <strong>Hub</strong> <strong>Manager</strong> <strong>Professional</strong> <strong>v8</strong>


