User Guide PDF - Nik Software
User Guide PDF - Nik Software
User Guide PDF - Nik Software

You also want an ePaper? Increase the reach of your titles
YUMPU automatically turns print PDFs into web optimized ePapers that Google loves.
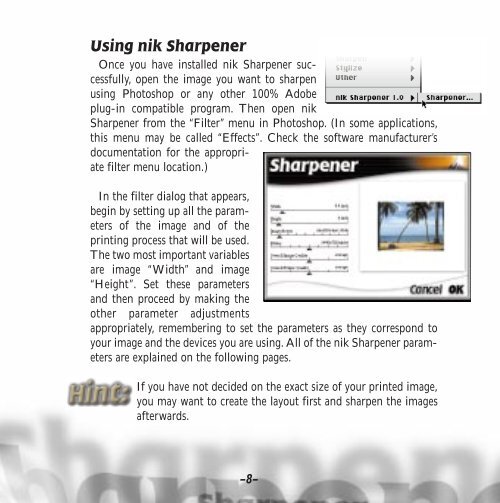
Using nik Sharpener<br />
Once you have installed nik Sharpener successfully,<br />
open the image you want to sharpen<br />
using Photoshop or any other 100% Adobe<br />
plug-in compatible program. Then open nik<br />
Sharpener from the “Filter” menu in Photoshop. (In some applications,<br />
this menu may be called “Effects”. Check the software manufacturer’s<br />
documentation for the appropriate<br />
filter menu location.)<br />
In the filter dialog that appears,<br />
begin by setting up all the parameters<br />
of the image and of the<br />
printing process that will be used.<br />
The two most important variables<br />
are image “Width” and image<br />
“Height”. Set these parameters<br />
and then proceed by making the<br />
other parameter adjustments<br />
appropriately, remembering to set the parameters as they correspond to<br />
your image and the devices you are using. All of the nik Sharpener parameters<br />
are explained on the following pages.<br />
If you have not decided on the exact size of your printed image,<br />
you may want to create the layout first and sharpen the images<br />
afterwards.<br />
–8–