Dutch Nao Team - Universiteit van Amsterdam
Dutch Nao Team - Universiteit van Amsterdam
Dutch Nao Team - Universiteit van Amsterdam

Create successful ePaper yourself
Turn your PDF publications into a flip-book with our unique Google optimized e-Paper software.
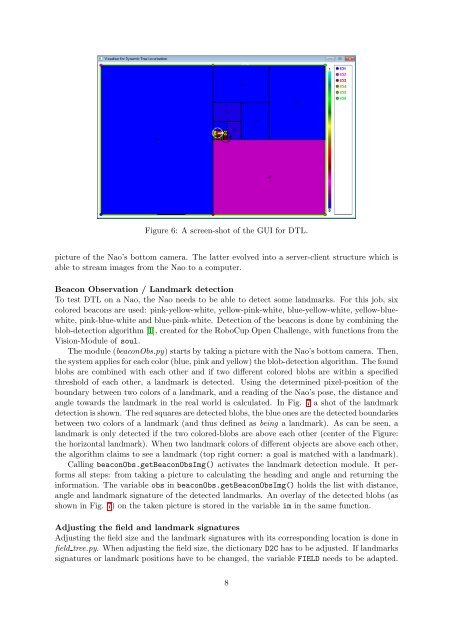
Figure 6: A screen-shot of the GUI for DTL.<br />
picture of the <strong>Nao</strong>’s bottom camera. The latter evolved into a server-client structure which is<br />
able to stream images from the <strong>Nao</strong> to a computer.<br />
Beacon Observation / Landmark detection<br />
To test DTL on a <strong>Nao</strong>, the <strong>Nao</strong> needs to be able to detect some landmarks. For this job, six<br />
colored beacons are used: pink-yellow-white, yellow-pink-white, blue-yellow-white, yellow-bluewhite,<br />
pink-blue-white and blue-pink-white. Detection of the beacons is done by combining the<br />
blob-detection algorithm [1], created for the RoboCup Open Challenge, with functions from the<br />
Vision-Module of soul.<br />
The module (beaconObs.py) starts by taking a picture with the <strong>Nao</strong>’s bottom camera. Then,<br />
the system applies for each color (blue, pink and yellow) the blob-detection algorithm. The found<br />
blobs are combined with each other and if two different colored blobs are within a specified<br />
threshold of each other, a landmark is detected. Using the determined pixel-position of the<br />
boundary between two colors of a landmark, and a reading of the <strong>Nao</strong>’s pose, the distance and<br />
angle towards the landmark in the real world is calculated. In Fig. 7 a shot of the landmark<br />
detection is shown. The red squares are detected blobs, the blue ones are the detected boundaries<br />
between two colors of a landmark (and thus defined as being a landmark). As can be seen, a<br />
landmark is only detected if the two colored-blobs are above each other (center of the Figure:<br />
the horizontal landmark). When two landmark colors of different objects are above each other,<br />
the algorithm claims to see a landmark (top right corner: a goal is matched with a landmark).<br />
Calling beaconObs.getBeaconObsImg() activates the landmark detection module. It performs<br />
all steps: from taking a picture to calculating the heading and angle and returning the<br />
information. The variable obs in beaconObs.getBeaconObsImg() holds the list with distance,<br />
angle and landmark signature of the detected landmarks. An overlay of the detected blobs (as<br />
shown in Fig. 7) on the taken picture is stored in the variable im in the same function.<br />
Adjusting the field and landmark signatures<br />
Adjusting the field size and the landmark signatures with its corresponding location is done in<br />
field tree.py. When adjusting the field size, the dictionary D2C has to be adjusted. If landmarks<br />
signatures or landmark positions have to be changed, the variable FIELD needs to be adapted.<br />
8