Manual tehnic expresoare Jura ENA 7
Manual tehnic expresoare Jura ENA 7
Manual tehnic expresoare Jura ENA 7

You also want an ePaper? Increase the reach of your titles
YUMPU automatically turns print PDFs into web optimized ePapers that Google loves.
<strong>ENA</strong> 7<br />
42<br />
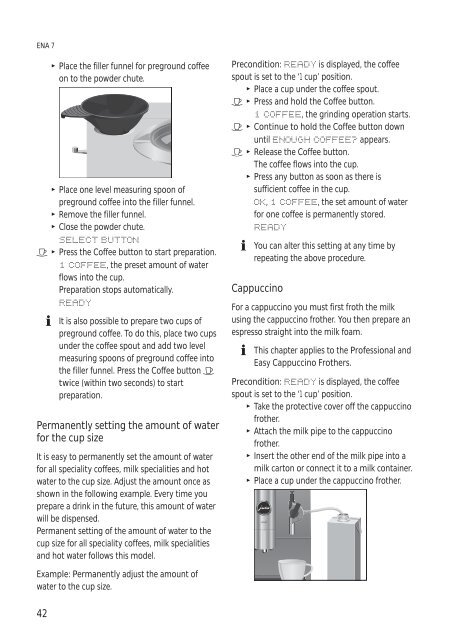
T Place the filler funnel for preground coffee<br />
on to the powder chute.<br />
T Place one level measuring spoon of<br />
preground coffee into the filler funnel.<br />
T Remove the filler funnel.<br />
T Close the powder chute.<br />
SELECT BUTTON<br />
> T Press the Coffee button to start preparation.<br />
1 COFFEE, the preset amount of water<br />
flows into the cup.<br />
Preparation stops automatically.<br />
READY<br />
E It is also possible to prepare two cups of<br />
preground coffee. To do this, place two cups<br />
under the coffee spout and add two level<br />
measuring spoons of preground coffee into<br />
the filler funnel. Press the Coffee button ><br />
twice (within two seconds) to start<br />
preparation.<br />
Permanently setting the amount of water<br />
for the cup size<br />
It is easy to permanently set the amount of water<br />
for all speciality coffees, milk specialities and hot<br />
water to the cup size. Adjust the amount once as<br />
shown in the following example. Every time you<br />
prepare a drink in the future, this amount of water<br />
will be dispensed.<br />
Permanent setting of the amount of water to the<br />
cup size for all speciality coffees, milk specialities<br />
and hot water follows this model.<br />
Example: Permanently adjust the amount of<br />
water to the cup size.<br />
Precondition: READY is displayed, the coffee<br />
spout is set to the ‘1 cup’ position.<br />
T Place a cup under the coffee spout.<br />
> T Press and hold the Coffee button.<br />
1 COFFEE, the grinding operation starts.<br />
> T Continue to hold the Coffee button down<br />
until ENOUGH COFFEE? appears.<br />
> T Release the Coffee button.<br />
The coffee flows into the cup.<br />
T Press any button as soon as there is<br />
sufficient coffee in the cup.<br />
OK, 1 COFFEE, the set amount of water<br />
for one coffee is permanently stored.<br />
READY<br />
E You can alter this setting at any time by<br />
repeating the above procedure.<br />
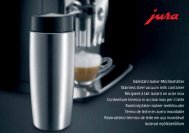
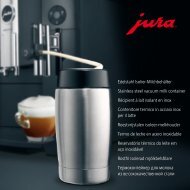
Cappuccino<br />
For a cappuccino you must first froth the milk<br />
using the cappuccino frother. You then prepare an<br />
espresso straight into the milk foam.<br />
E This chapter applies to the Professional and<br />
Easy Cappuccino Frothers.<br />
Precondition: READY is displayed, the coffee<br />
spout is set to the ‘1 cup’ position.<br />
T Take the protective cover off the cappuccino<br />
frother.<br />
T Attach the milk pipe to the cappuccino<br />
frother.<br />
T Insert the other end of the milk pipe into a<br />
milk carton or connect it to a milk container.<br />
T Place a cup under the cappuccino frother.