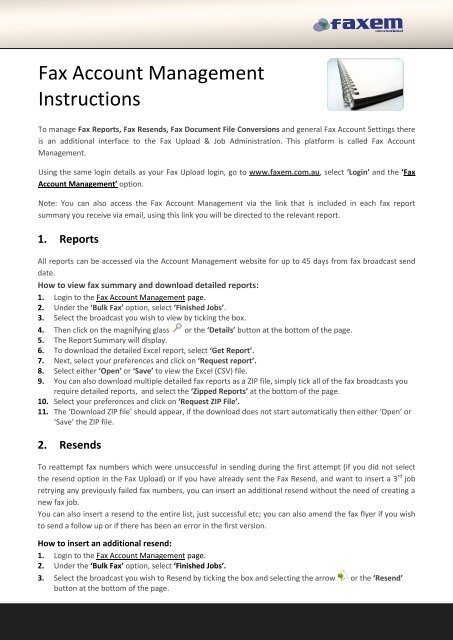
Fax Account Management Instructions.pdf - Faxem
Fax Account Management Instructions.pdf - Faxem
Fax Account Management Instructions.pdf - Faxem

You also want an ePaper? Increase the reach of your titles
YUMPU automatically turns print PDFs into web optimized ePapers that Google loves.
Con<br />
<strong>Fax</strong> <strong>Account</strong> <strong>Management</strong><br />
<strong>Instructions</strong><br />
To manage <strong>Fax</strong> Reports, <strong>Fax</strong> Resends, <strong>Fax</strong> Document File Conversions and general <strong>Fax</strong> <strong>Account</strong> Settings there<br />
is an additional interface to the <strong>Fax</strong> Upload & Job Administration. This platform is called <strong>Fax</strong> <strong>Account</strong><br />
<strong>Management</strong>.<br />
Using the same login details as your <strong>Fax</strong> Upload login, go to www.faxem.com.au, select ‘Login’ and the ‘<strong>Fax</strong><br />
<strong>Account</strong> <strong>Management</strong>’ option.<br />
Note: You can also access the <strong>Fax</strong> <strong>Account</strong> <strong>Management</strong> via the link that is included in each fax report<br />
summary you receive via email, using this link you will be directed to the relevant report.<br />
1. Reports<br />
All reports can be accessed via the <strong>Account</strong> <strong>Management</strong> website for up to 45 days from fax broadcast send<br />
date.<br />
How to view fax summary and download detailed reports:<br />
1. Login to the <strong>Fax</strong> <strong>Account</strong> <strong>Management</strong> page.<br />
2. Under the ‘Bulk <strong>Fax</strong>’ option, select ‘Finished Jobs’.<br />
3. Select the broadcast you wish to view by ticking the box.<br />
4. Then click on the magnifying glass or the ‘Details’ button at the bottom of the page.<br />
5. The Report Summary will display.<br />
6. To download the detailed Excel report, select ‘Get Report’.<br />
7. Next, select your preferences and click on ‘Request report’.<br />
8. Select either ‘Open’ or ‘Save’ to view the Excel (CSV) file.<br />
9. You can also download multiple detailed fax reports as a ZIP file, simply tick all of the fax broadcasts you<br />
require detailed reports, and select the ‘Zipped Reports’ at the bottom of the page.<br />
10. Select your preferences and click on ‘Request ZIP File’.<br />
11. The ‘Download ZIP file’ should appear, if the download does not start automatically then either ‘Open’ or<br />
‘Save’ the ZIP file.<br />
2. Resends<br />
To reattempt fax numbers which were unsuccessful in sending during the first attempt (if you did not select<br />
the resend option in the <strong>Fax</strong> Upload) or if you have already sent the <strong>Fax</strong> Resend, and want to insert a 3 rd job<br />
retrying any previously failed fax numbers, you can insert an additional resend without the need of creating a<br />
new fax job.<br />
You can also insert a resend to the entire list, just successful etc; you can also amend the fax flyer if you wish<br />
to send a follow up or if there has been an error in the first version.<br />
How to insert an additional resend:<br />
1. Login to the <strong>Fax</strong> <strong>Account</strong> <strong>Management</strong> page.<br />
2. Under the ‘Bulk <strong>Fax</strong>’ option, select ‘Finished Jobs’.<br />
3. Select the broadcast you wish to Resend by ticking the box and selecting the arrow or the ‘Resend’<br />
button at the bottom of the page.
Con<br />
4. If required, the resend can be scheduled for a future time by editing the date and time.<br />
5. Under the ‘Resend Mode’, you can also select who you want to send the resend to. Normally a Resend<br />
would only be attempted to those ‘unsuccessful’ fax recipients.<br />
6. Should you need to change the fax document for the Resend, you can do this by inserting the document/s<br />
into the ‘File 1’, File 2’ or ‘File 3’ option. Alternately, if you want to send using the original document,<br />
leave blank.<br />
Please note that you cannot change the document for Mail Merge/Personalised fax broadcasts.<br />
7. Select ‘Resend’ and wait for the ‘Resend successfully activated’ confirmation.<br />
8. Next login to the main Upload <strong>Fax</strong> portal and select ‘Job Administration’ and select the ‘Resend of Job’ fax<br />
‘Start’.<br />
3. File Conversion<br />
Depending on the PDF writer used to create your fax document, there can be instances where file conversion<br />
errors occur on your fax document causing it to appear different once uploaded (e.g. black boxes around<br />
images). Therefore a File Conversion tool is available to test and change the type of PDF to <strong>Fax</strong> conversion.<br />
How to convert a PDF file into a TIF file that is compatible with the <strong>Fax</strong> Broadcast system:<br />
1. Login to the <strong>Fax</strong> <strong>Account</strong> <strong>Management</strong> page.<br />
2. Under the ‘Bulk <strong>Fax</strong>’ option, select ‘File Conversion’.<br />
3. Select ‘Browse’ and choose the file you wish to convert<br />
(Max. file size: 100 MB; Accepted file extensions: <strong>pdf</strong>, doc, xls, txt, htm, html, ppt, rtf, cdr).<br />
4. When converting a PDF please select one of the three Conversion Methods:<br />
PDF-16: brighter – Contrast low<br />
PDF-20: bright – Contrast medium<br />
PDF-12: dark – Contrast high<br />
5. Select the ‘Resolution’ – ‘normal’ or ‘high’.<br />
6. Click on ‘Convert file’.<br />
7. Click on the disk in order to download the converted file.<br />
Then, go back to the <strong>Fax</strong> Upload website and insert your job using the TIF file you have downloaded via the<br />
file conversion feature and check the results of your test fax.<br />
Once tested contact us at support@faxem.com.au to have the most suited conversion type applied to your<br />
account.<br />
4. General Settings<br />
How to change your password:<br />
1. Under the ‘Settings’ option, select ‘Change password’.<br />
2. Enter your current as well as new password and repeat the new password before clicking on to ‘Change<br />
Password’.<br />
The following can also be changed from your <strong>Account</strong> <strong>Management</strong> portal:<br />
- Your default ‘File separator’<br />
- The ‘Chart Type’ your statistics are displayed in<br />
- The format email reports and sent<br />
- Your account ‘Time zone’<br />
1. To edit, under the ‘Settings’ option, select ‘Edit settings’.<br />
2. Select your preferences and click on ‘Save Settings’.