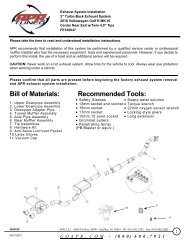
MK4 VW instructions.pdf - APR
MK4 VW instructions.pdf - APR
MK4 VW instructions.pdf - APR

You also want an ePaper? Increase the reach of your titles
YUMPU automatically turns print PDFs into web optimized ePapers that Google loves.
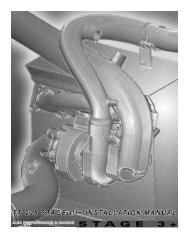
Step 9:<br />
Using a Phillips head screwdriver, remove the two<br />
screws on the plastic cover marked with the light<br />
bulb. This cover is located directly in front of the<br />
battery. Once this is done, remove this cover by<br />
pulling it straight out.<br />
Step 10:<br />
Using a Phillips screwdriver, remove the two screws that hold on the shroud in front of the engine<br />
(this piece is located next to the cover removed in step 9). Once this is done, pull this piece out.<br />
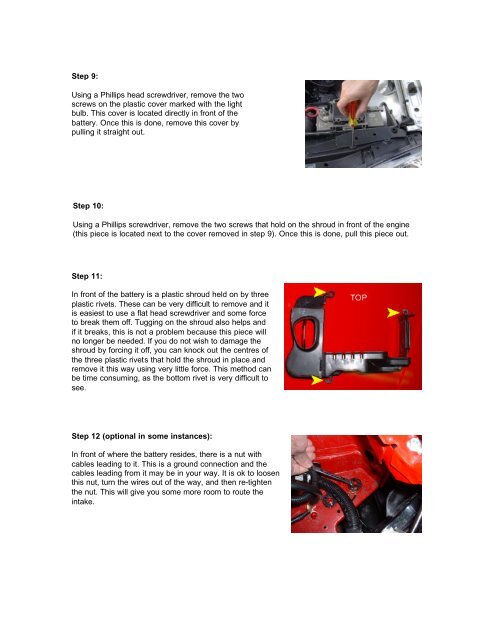
Step 11:<br />
In front of the battery is a plastic shroud held on by three<br />
plastic rivets. These can be very difficult to remove and it<br />
is easiest to use a flat head screwdriver and some force<br />
to break them off. Tugging on the shroud also helps and<br />
if it breaks, this is not a problem because this piece will<br />
no longer be needed. If you do not wish to damage the<br />
shroud by forcing it off, you can knock out the centres of<br />
the three plastic rivets that hold the shroud in place and<br />
remove it this way using very little force. This method can<br />
be time consuming, as the bottom rivet is very difficult to<br />
see.<br />
Step 12 (optional in some instances):<br />
In front of where the battery resides, there is a nut with<br />
cables leading to it. This is a ground connection and the<br />
cables leading from it may be in your way. It is ok to loosen<br />
this nut, turn the wires out of the way, and then re-tighten<br />
the nut. This will give you some more room to route the<br />
intake.