User manual GAGGIA ACHILLE - MY PDF MANUALS
User manual GAGGIA ACHILLE - MY PDF MANUALS
User manual GAGGIA ACHILLE - MY PDF MANUALS

You also want an ePaper? Increase the reach of your titles
YUMPU automatically turns print PDFs into web optimized ePapers that Google loves.
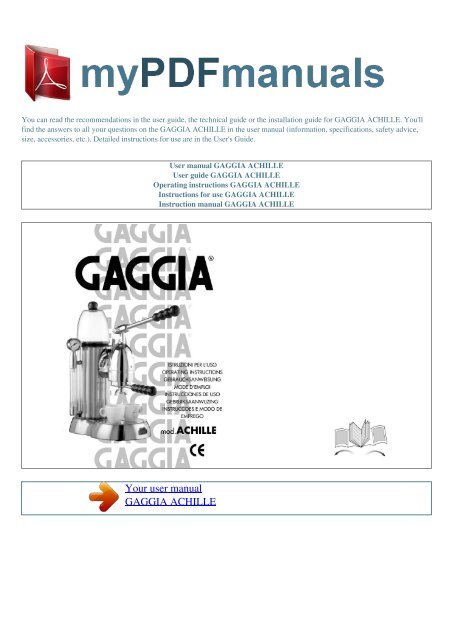
You can read the recommendations in the user guide, the technical guide or the installation guide for <strong>GAGGIA</strong> <strong>ACHILLE</strong>. You'll<br />
find the answers to all your questions on the <strong>GAGGIA</strong> <strong>ACHILLE</strong> in the user <strong>manual</strong> (information, specifications, safety advice,<br />
size, accessories, etc.). Detailed instructions for use are in the <strong>User</strong>'s Guide.<br />
<strong>User</strong> <strong>manual</strong> <strong>GAGGIA</strong> <strong>ACHILLE</strong><br />
<strong>User</strong> guide <strong>GAGGIA</strong> <strong>ACHILLE</strong><br />
Operating instructions <strong>GAGGIA</strong> <strong>ACHILLE</strong><br />
Instructions for use <strong>GAGGIA</strong> <strong>ACHILLE</strong><br />
Instruction <strong>manual</strong> <strong>GAGGIA</strong> <strong>ACHILLE</strong><br />
Your user <strong>manual</strong><br />
<strong>GAGGIA</strong> <strong>ACHILLE</strong>
Powered by TC<strong>PDF</strong> (www.tcpdf.org)<br />
Manual abstract:<br />
NB: Once the boiler has been filled, the water tank (6) may be filled, when necessary, without removing it. 6. Insert the portafilter (9) into the coffee group<br />
(14) and lock it by turning it from left to right until it stops. Insert the plug (19) into a proper outlet (see the "WARNING" section page 9, Point 1). A A short<br />
power-supply cord is provided to reduce risks of getting tangled up or tripping over a longer cord. B Longer extension cords are available and may be used if<br />
care is exercised in their use. C If a long extension cord is used: 1 the marked electrical rating of the extension cord should be at least as great as the<br />
electrical rating of the appliance. This procedure prepares the water lines to guarantee optimal machine operation. Repeat this procedure each time the<br />
machine is used again after a prolonged period of inactivity. 1.<br />
Make sure the machine is set up as indicated in the Section "Setting up the Espresso coffee machine". The red ON light will light up. 3. Wait until the green<br />
correct pressure light (3) lights up. Close the steam knob (clockwise) slowly and wait for the green light (3) to come on, indicating that the correct pressure<br />
(approx.<br />
The pressure may also be checked using the pressure gauge (25). NB: The green correct pressure light (3) will go on and off automatically during the heating<br />
phase. After turning on the machine, we recommend waiting 12-15 minutes until the idea temperature has been reached before making the first cup of coffee.<br />
Subsequent cups of coffee may be prepared with no waiting. 5.<br />
Place an empty cup under the coffee group (14) without putting any coffee in the portafilter (9). Raise and lower the coffee lever (2) until it stops. Repeat this<br />
operation until the cup is full of water. Which you can choose to brew your espresso. Each of these roasts is a blend of coffee beans that are roasted at a<br />
specific temperature producing a specific type of flavour. there are decaffeinated beans that have up to 98% of the caffeine content removed. The next time<br />
you purchase coffee for your espresso maker, experiment with one of the many kinds of coffee being sold. You may just find that it tastes better than the blend<br />
you have been using. Be sure to ask for this when buying coffee or when having beans ground. Do not use a blade-type grinder because it makes too much<br />
coffee dust and produces an irregular grind.<br />
4. The mark of real espresso is its dark colour, rich taste and the light brown, natural froth called "crema" in Italian. Cappuccino is usually topped with<br />
cinnamon, nutmeg or cocoa powder. 6. Espresso Coffee should be served immediately after it is made. Cup or glass is used for cappuccino 8. Ideally, coffee<br />
beans should be ground immediately before using. Remember, it must be an "espresso grind" for pump-driven espresso machines. 9. It's best to store ground<br />
coffee or beans in an airtight container in the freezer of your refrigerator.<br />
Ground coffee tends to absorb food odours. The taste of your coffee depends on the characteristics of the beans from which it is made, the type of bean, where<br />
it was grown and processed. The coffee beans that are roasted for a longer period of time and at higher temperatures will be much darker in colour. Darker<br />
beans will produce a richer cup of coffee than the lightly-roasted beans. 2.<br />
A variety of dark roasts are available from Make sure the procedures indicated in the sections "Setting up the Espresso coffee machine" and "Priming the<br />
machine" have been correctly followed. Remove the portafilter (9) from the coffee group (14). select the proper filter (10 or 11) and place it in the portafilter<br />
(9). The small filter is for one cup and the large filter is for two cups. 3.<br />
Fill the filter with ground coffee using the coffee measure (20). As a rule, you will need one measure for each cup of coffee. do not overfill. Press the coffee<br />
using the coffee press (18). Do not press too hard. 4. Wipe off the edges of the filter and portafilter (9, 10, 11) to clean away any remaining coffee and place<br />
the portafilter (9) into the coffee group (14). 5. Place one or two cups under the portafilter (9) depending on the number of cups you wish to make and in<br />
accordance with the choice of filters in Point 2. Raise the coffee lever (2) with one hand.<br />
.<br />
Your user <strong>manual</strong><br />
<strong>GAGGIA</strong> <strong>ACHILLE</strong>