Purchase Order Entry - Staffcentral
Purchase Order Entry - Staffcentral
Purchase Order Entry - Staffcentral
You also want an ePaper? Increase the reach of your titles
YUMPU automatically turns print PDFs into web optimized ePapers that Google loves.
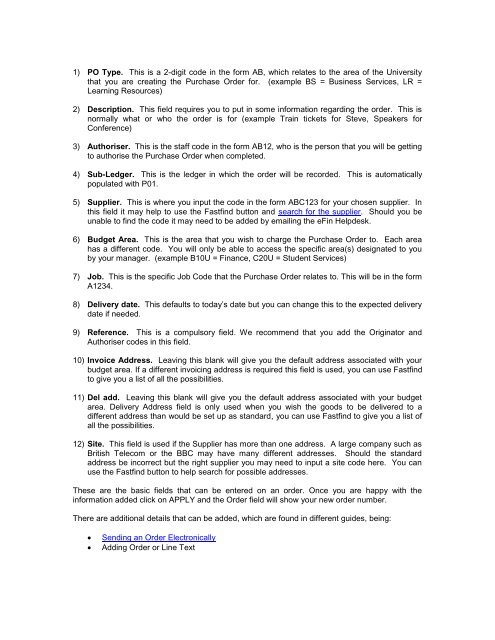
1) PO Type. This is a 2-digit code in the form AB, which relates to the area of the University<br />
that you are creating the <strong>Purchase</strong> <strong>Order</strong> for. (example BS = Business Services, LR =<br />
Learning Resources)<br />
2) Description. This field requires you to put in some information regarding the order. This is<br />
normally what or who the order is for (example Train tickets for Steve, Speakers for<br />
Conference)<br />
3) Authoriser. This is the staff code in the form AB12, who is the person that you will be getting<br />
to authorise the <strong>Purchase</strong> <strong>Order</strong> when completed.<br />
4) Sub-Ledger. This is the ledger in which the order will be recorded. This is automatically<br />
populated with P01.<br />
5) Supplier. This is where you input the code in the form ABC123 for your chosen supplier. In<br />
this field it may help to use the Fastfind button and search for the supplier. Should you be<br />
unable to find the code it may need to be added by emailing the eFin Helpdesk.<br />
6) Budget Area. This is the area that you wish to charge the <strong>Purchase</strong> <strong>Order</strong> to. Each area<br />
has a different code. You will only be able to access the specific area(s) designated to you<br />
by your manager. (example B10U = Finance, C20U = Student Services)<br />
7) Job. This is the specific Job Code that the <strong>Purchase</strong> <strong>Order</strong> relates to. This will be in the form<br />
A1234.<br />
8) Delivery date. This defaults to today’s date but you can change this to the expected delivery<br />
date if needed.<br />
9) Reference. This is a compulsory field. We recommend that you add the Originator and<br />
Authoriser codes in this field.<br />
10) Invoice Address. Leaving this blank will give you the default address associated with your<br />
budget area. If a different invoicing address is required this field is used, you can use Fastfind<br />
to give you a list of all the possibilities.<br />
11) Del add. Leaving this blank will give you the default address associated with your budget<br />
area. Delivery Address field is only used when you wish the goods to be delivered to a<br />
different address than would be set up as standard, you can use Fastfind to give you a list of<br />
all the possibilities.<br />
12) Site. This field is used if the Supplier has more than one address. A large company such as<br />
British Telecom or the BBC may have many different addresses. Should the standard<br />
address be incorrect but the right supplier you may need to input a site code here. You can<br />
use the Fastfind button to help search for possible addresses.<br />
These are the basic fields that can be entered on an order. Once you are happy with the<br />
information added click on APPLY and the <strong>Order</strong> field will show your new order number.<br />
There are additional details that can be added, which are found in different guides, being:<br />
<br />
<br />
Sending an <strong>Order</strong> Electronically<br />
Adding <strong>Order</strong> or Line Text


