INSTALLATION INSTRUCTIONS - Bernardi Acura Parts & Accessories
INSTALLATION INSTRUCTIONS - Bernardi Acura Parts & Accessories
INSTALLATION INSTRUCTIONS - Bernardi Acura Parts & Accessories

Create successful ePaper yourself
Turn your PDF publications into a flip-book with our unique Google optimized e-Paper software.
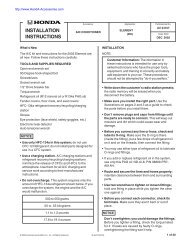
<strong>INSTALLATION</strong><br />
<strong>INSTRUCTIONS</strong><br />
Accessory<br />
CARGO AREA COVER<br />
Application<br />
2013 RDX<br />
Publications No.<br />
BII 13449<br />
Issue Date<br />
MAR 2012<br />
Put this information in the glove box with the vehicle owner’s manual.<br />
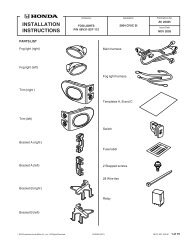
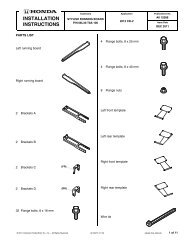
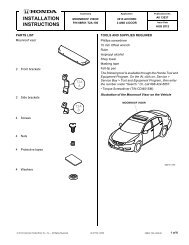
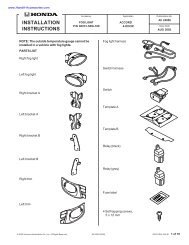
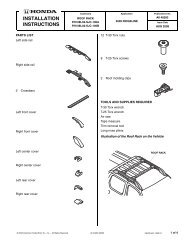
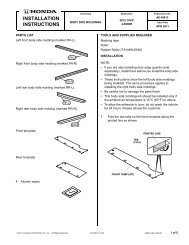
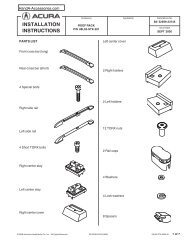
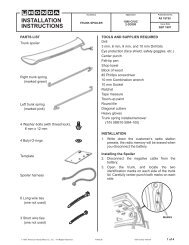
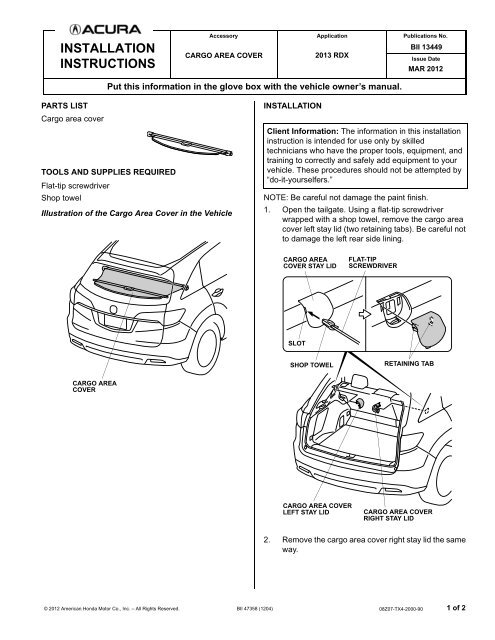
PARTS LIST<br />
Cargo area cover<br />
TOOLS AND SUPPLIES REQUIRED<br />
Flat-tip screwdriver<br />
Shop towel<br />
Illustration of the Cargo Area Cover in the Vehicle<br />
<strong>INSTALLATION</strong><br />
Client Information: The information in this installation<br />
instruction is intended for use only by skilled<br />
technicians who have the proper tools, equipment, and<br />
training to correctly and safely add equipment to your<br />
vehicle. These procedures should not be attempted by<br />
“do-it-yourselfers.”<br />
NOTE: Be careful not damage the paint finish.<br />
1. Open the tailgate. Using a flat-tip screwdriver<br />
wrapped with a shop towel, remove the cargo area<br />
cover left stay lid (two retaining tabs). Be careful not<br />
to damage the left rear side lining.<br />
CARGO AREA<br />
COVER STAY LID<br />
FLAT-TIP <br />
SCREWDRIVER<br />
SLOT<br />
SHOP TOWEL<br />
RETAINING TAB<br />
CARGO AREA<br />
COVER<br />
QA00401AX<br />
CARGO AREA COVER<br />
LEFT STAY LID<br />
CARGO AREA COVER<br />
RIGHT STAY LID<br />
QA00402AX<br />
2. Remove the cargo area cover right stay lid the same<br />
way.<br />
© 2012 American Honda Motor Co., Inc. – All Rights Reserved. BII 47358 (1204) 08Z07-TX4-2000-90 1 of 2
3. Push the end cap on the cargo area cover inward<br />
and insert the projected part of the end cap into the<br />
cargo area cover stay in the rear side lining. Insert<br />
the other end into the other side the same way.<br />
CARGO AREA<br />
COVER STAY<br />
PROJECTED<br />
PART<br />
4. Pull out the cargo area cover and secure the two<br />
tabs into the channels in the rear side lining as<br />
shown.<br />
HANDLE<br />
CARGO AREA<br />
COVER<br />
END CAP<br />
Pull.<br />
Push.<br />
CHANNEL<br />
REAR<br />
SIDE<br />
LINING<br />
TAB<br />
CARGO AREA<br />
COVER<br />
QA00404BX<br />
CARGO AREA COVER<br />
5. Store the cargo area cover stay lids (removed in<br />
steps 1 and 2) in the glove box.<br />
QA00403AX<br />
2 of 2 BII 47358 (1204) © 2012 American Honda Motor Co., Inc. – All Rights Reserved.