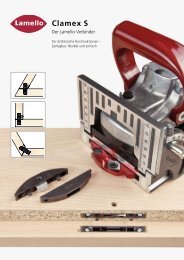
Lamello Minispot G2A
Lamello Minispot G2A
Lamello Minispot G2A

You also want an ePaper? Increase the reach of your titles
YUMPU automatically turns print PDFs into web optimized ePapers that Google loves.
English<br />
Field of application<br />
The <strong>Lamello</strong> <strong>Minispot</strong> <strong>G2A</strong> milling machine can be used for cutting grooves for original <strong>Minispot</strong> patches. The<br />
following <strong>Minispot</strong> patches are available in a variety of different woods:<br />
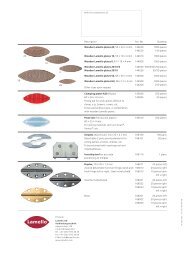
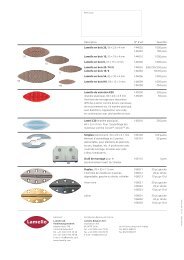
Profil Size mm Width mm Height mm Length mm Quantity<br />
2 8 13 70 500<br />
8 8 11 64 500<br />
Technical data<br />
<strong>Minispot</strong> <strong>G2A</strong><br />
Motor capacity<br />
Speed<br />
Cutting width max.<br />
Cutting depth max.<br />
Weight<br />
705 W<br />
10'000 rpm.<br />
8 mm<br />
20 mm<br />
3.1 kg<br />
Scope of supply<br />
Milling machine<br />
Tool set<br />
Wooden case<br />
Instructions for use<br />
Special accessories<br />
Art. No.<br />
Cutting tools:<br />
for <strong>Minispot</strong> patches size 2 132217<br />
for <strong>Minispot</strong> patches size 8 132213<br />
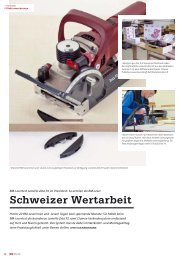
A) Use<br />
1. Place machine on defective place (can be checked through transparent window). Ensure support over entire<br />
surface.<br />
2. Switch on main switch<br />
3. Guide machine with both hands. Push the cutter slowly and evenly up to the stop. The cutter returns<br />
automatically within the housing when the pressure is removed.<br />
4. Switch off machine<br />
5. Withdraw power plug after finishing work<br />
6. Glue groove, e.g. with the <strong>Lamello</strong> Dosicol gluing unit with suitable <strong>Minispot</strong> nozzle<br />
7. Press in suitable <strong>Minispot</strong> patch. The patch sits firmly in its recess from the beginning owing to the<br />
self-clamping in the area of the flanks.<br />
8. Following a setting time of several minutes, mill or plane the patch flush, e.g. with the <strong>Lamello</strong> Plano 45<br />
flushmilling machine. If the machine is used correctly, the area patched is hardly visible any more.<br />
B) Changing the cutter<br />
Use only properly sharpened cutters!<br />
Use only cutters for manual feed!<br />
1. Withdraw power plug<br />
2. Remove baseplate.<br />
3. Lock spindle, at same time release flange nut with face spanner<br />
4. Insert new cutter, note direction of rotation. Ensure clean supporting surface<br />
5. Screw up flange nut tightly with face spanner<br />
6. Fit baseplate<br />
7. Check milling depth, adjust if necessary by turning the knurled nut on the depth adjuster<br />
12