DDNS CONFIGURATION FOR QUADDRIX DVR SERIES
DDNS CONFIGURATION FOR QUADDRIX DVR SERIES
DDNS CONFIGURATION FOR QUADDRIX DVR SERIES

Create successful ePaper yourself
Turn your PDF publications into a flip-book with our unique Google optimized e-Paper software.
<strong>DDNS</strong> <strong>CONFIGURATION</strong> <strong>FOR</strong> <strong>QUADDRIX</strong> <strong>DVR</strong> <strong>SERIES</strong><br />
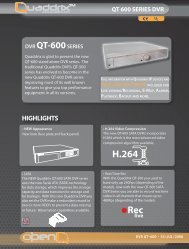
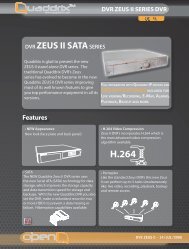
Note: this configuration document will apply for the following <strong>DVR</strong> models only: QT-560, QT-600 and QT-ZeusII.<br />
This document will give you a step by step guide for the <strong>DDNS</strong> proper configuration in you Quaddrix <strong>DVR</strong>.<br />
The first step is to have an account in a <strong>DDNS</strong> service provider, if you already have an account with a<br />
<strong>DDNS</strong> service providers please go to the step<br />
Step 1<br />
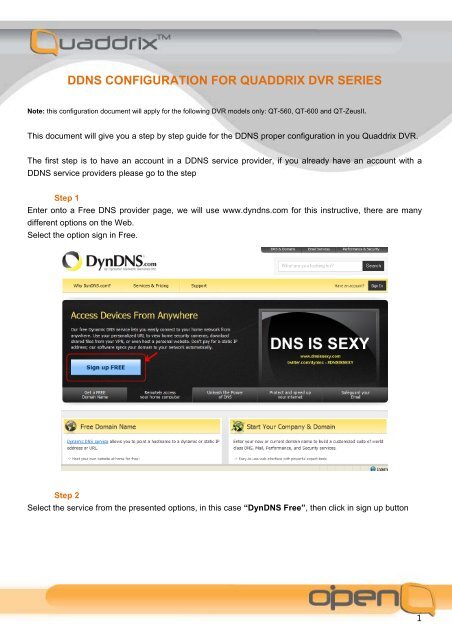
Enter onto a Free DNS provider page, we will use www.dyndns.com for this instructive, there are many<br />
different options on the Web.<br />
Select the option sign in Free.<br />
Step 2<br />
Select the service from the presented options, in this case “DynDNS Free”, then click in sign up button<br />
1
Step 3<br />
Then create a new host name and sing up on the DNS provider.<br />
You will be requested to fill in some information, and accept the terms of service of the provider. Fill the<br />
form and accept the terms.<br />
Step 4<br />
In the DNS service, create and activate a new host name.<br />
Now you need to pick up your Host name and your type of host. Pick any name that you prefer and the<br />
related extension from the list for the host name (like dyndns.org). We will use “qddxdvr.dyndns.org” for<br />
this instructive. Once you have create the new host please be sure that it appear listed in the hosts<br />
services of your account.<br />
2
Once you have created and registered the DNS host name, now you can proceed to configure this function<br />
in the <strong>DVR</strong><br />
Step 5<br />
In a PC connected in the same network of the <strong>DVR</strong> confirm the following network information (the PC must<br />
have internet connection). In windows click on start button, then click on run icon (siart run).<br />
Step 6<br />
In run window, type the following “cmd” then press enter key. A command prompt window will appear, in<br />
this command window type “ipconfig/all” and press enter key.<br />
The following information will be displayed:<br />
3
Take note of the system DNS server addresses (both prefer and alternative). Which for this example are:<br />
• 200.75.51.132<br />
• 200.75.51.133<br />
Step 7<br />
Set the DNS addresses in the <strong>DVR</strong> DNS setting option, for this proceed as follows:<br />
• Access to the <strong>DVR</strong> via softQ software or web browser, then select the “Preferred DNS”<br />
option.<br />
• Once inside this option type the DNS addresses gathered in the step 6, then click on save<br />
button to save changes in the <strong>DVR</strong>.<br />
4
Step 8<br />
Now go to the <strong>DVR</strong> <strong>DDNS</strong> setup menu, for this go to settings network <strong>DDNS</strong>, once inside the<br />
<strong>DDNS</strong>.<br />
Here you have to set all the <strong>DDNS</strong> account parameters in the <strong>DVR</strong> (this is the account information like<br />
username, password, domain name, etc), then click on save button to save changes in the <strong>DVR</strong>.<br />
Note: before close this interface be sure you have activate the <strong>DDNS</strong> function by clicking in the<br />
enable check box<br />
Step 9<br />
Once you have done the <strong>DVR</strong> configuration wait for a few minutes and then check in your DynDNS<br />
account if your domain name has received an IP address.<br />
After that now your <strong>DVR</strong> will be available in internet through Dyn DNS domain name service.<br />
5