stealth x stream 400w - OCZ
stealth x stream 400w - OCZ
stealth x stream 400w - OCZ
Create successful ePaper yourself
Turn your PDF publications into a flip-book with our unique Google optimized e-Paper software.
400W<br />
INSTALLATION OF THE POWER SUPPLY<br />
NOTE: You will need a Philips screwdriver to install your new power supply.<br />
To install a new power supply you first need to remove the old one. Please proceed as<br />
follow<br />
1. Unplug the AC power cable from your old power supply.<br />
2. Make sure to disconnect all other cables from the PC and remove the cover from the<br />
PC case. Remove any screws holding the cover in place; specifics will vary by<br />
computer case design.<br />
3. Disconnect the power supply from all the components in the PC- make sure that all<br />
the connectors are unplugged.<br />
4. You can now remove the screws securing the old power supply to your case; normally,<br />
there are four screws at the back of the chassis. After removing all the screws, slowly<br />
take the power supply out of the PC case. Be careful that you do not damage any<br />
other components during this action.<br />
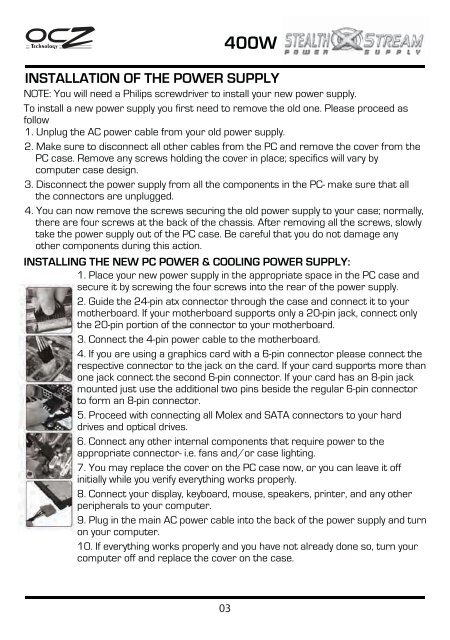
INSTALLING THE NEW PC POWER & COOLING POWER SUPPLY:<br />
1. Place your new power supply in the appropriate space in the PC case and<br />
secure it by screwing the four screws into the rear of the power supply.<br />
2. Guide the 24-pin atx connector through the case and connect it to your<br />
motherboard. If your motherboard supports only a 20-pin jack, connect only<br />
the 20-pin portion of the connector to your motherboard.<br />
3. Connect the 4-pin power cable to the motherboard.<br />
4. If you are using a graphics card with a 6-pin connector please connect the<br />
respective connector to the jack on the card. If your card supports more than<br />
one jack connect the second 6-pin connector. If your card has an 8-pin jack<br />
mounted just use the additional two pins beside the regular 6-pin connector<br />
to form an 8-pin connector.<br />
5. Proceed with connecting all Molex and SATA connectors to your hard<br />
drives and optical drives.<br />
6. Connect any other internal components that require power to the<br />
appropriate connector- i.e. fans and/or case lighting.<br />
7. You may replace the cover on the PC case now, or you can leave it off<br />
initially while you verify everything works properly.<br />
8. Connect your display, keyboard, mouse, speakers, printer, and any other<br />
peripherals to your computer.<br />
9. Plug in the main AC power cable into the back of the power supply and turn<br />
on your computer.<br />
10. If everything works properly and you have not already done so, turn your<br />
computer off and replace the cover on the case.<br />
03


