How to Download, Install, and Use Cisco AnyConnect VPN Client
How to Download, Install, and Use Cisco AnyConnect VPN Client
How to Download, Install, and Use Cisco AnyConnect VPN Client

Create successful ePaper yourself
Turn your PDF publications into a flip-book with our unique Google optimized e-Paper software.
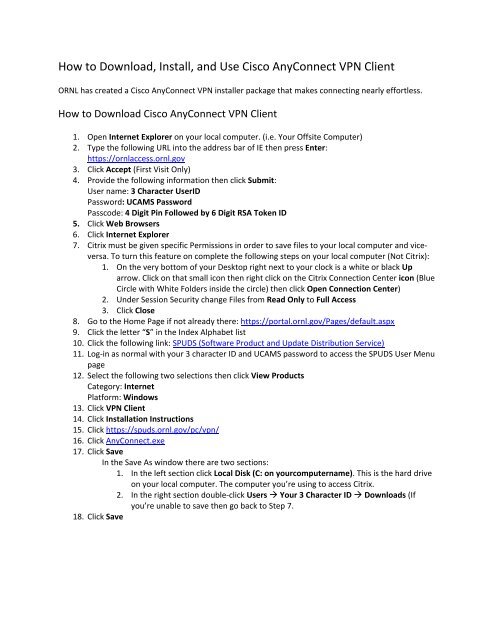
<strong>How</strong> <strong>to</strong> <strong>Download</strong>, <strong>Install</strong>, <strong>and</strong> <strong>Use</strong> <strong>Cisco</strong> <strong>AnyConnect</strong> <strong>VPN</strong> <strong>Client</strong><br />
ORNL has created a <strong>Cisco</strong> <strong>AnyConnect</strong> <strong>VPN</strong> installer package that makes connecting nearly effortless.<br />
<strong>How</strong> <strong>to</strong> <strong>Download</strong> <strong>Cisco</strong> <strong>AnyConnect</strong> <strong>VPN</strong> <strong>Client</strong><br />
1. Open Internet Explorer on your local computer. (i.e. Your Offsite Computer)<br />
2. Type the following URL in<strong>to</strong> the address bar of IE then press Enter:<br />
https://ornlaccess.ornl.gov<br />
3. Click Accept (First Visit Only)<br />
4. Provide the following information then click Submit:<br />
<strong>Use</strong>r name: 3 Character <strong>Use</strong>rID<br />
Password: UCAMS Password<br />
Passcode: 4 Digit Pin Followed by 6 Digit RSA Token ID<br />
5. Click Web Browsers<br />
6. Click Internet Explorer<br />
7. Citrix must be given specific Permissions in order <strong>to</strong> save files <strong>to</strong> your local computer <strong>and</strong> viceversa.<br />
To turn this feature on complete the following steps on your local computer (Not Citrix):<br />
1. On the very bot<strong>to</strong>m of your Desk<strong>to</strong>p right next <strong>to</strong> your clock is a white or black Up<br />
arrow. Click on that small icon then right click on the Citrix Connection Center icon (Blue<br />
Circle with White Folders inside the circle) then click Open Connection Center)<br />
2. Under Session Security change Files from Read Only <strong>to</strong> Full Access<br />
3. Click Close<br />
8. Go <strong>to</strong> the Home Page if not already there: https://portal.ornl.gov/Pages/default.aspx<br />
9. Click the letter “S” in the Index Alphabet list<br />
10. Click the following link: SPUDS (Software Product <strong>and</strong> Update Distribution Service)<br />
11. Log-in as normal with your 3 character ID <strong>and</strong> UCAMS password <strong>to</strong> access the SPUDS <strong>Use</strong>r Menu<br />
page<br />
12. Select the following two selections then click View Products<br />
Category: Internet<br />
Platform: Windows<br />
13. Click <strong>VPN</strong> <strong>Client</strong><br />
14. Click <strong>Install</strong>ation Instructions<br />
15. Click https://spuds.ornl.gov/pc/vpn/<br />
16. Click <strong>AnyConnect</strong>.exe<br />
17. Click Save<br />
In the Save As window there are two sections:<br />
1. In the left section click Local Disk (C: on yourcomputername). This is the hard drive<br />
on your local computer. The computer you’re using <strong>to</strong> access Citrix.<br />
2. In the right section double-click <strong>Use</strong>rs Your 3 Character ID <strong>Download</strong>s (If<br />
you’re unable <strong>to</strong> save then go back <strong>to</strong> Step 7.<br />
18. Click Save
<strong>How</strong> <strong>to</strong> <strong>Install</strong> <strong>Cisco</strong> <strong>AnyConnect</strong> <strong>VPN</strong> <strong>Client</strong><br />
Note:<br />
Please complete the steps in the following URL <strong>to</strong> become an Admin on your local computer so you can<br />
install the <strong>Cisco</strong> <strong>AnyConnect</strong> <strong>VPN</strong> <strong>Client</strong>. <strong>Use</strong> Citrix Internet Explorer <strong>to</strong> view instructions<br />
https://portal.ornl.gov/sites/ccsd/its/Pages/adminreset.aspx<br />
1. Open Windows Explorer on your Local Computer <strong>and</strong> go <strong>to</strong> the <strong>Download</strong>s folder (Left Section)<br />
or whichever folder you downloaded the <strong>AnyConnect</strong> installer <strong>to</strong>.<br />
2. Double-click on <strong>AnyConnect</strong>.exe<br />
3. Click Accept<br />
4. Enter the <strong>Use</strong>rname <strong>and</strong> Password provided earlier in the Privilege Elevation Tool then click OK<br />
5. If prompted select Au<strong>to</strong>matically close applications… then click OK<br />
6. Click OK again <strong>to</strong> complete installation.<br />
7. Reboot your computer<br />
<strong>How</strong> <strong>to</strong> <strong>Use</strong> <strong>Cisco</strong> <strong>AnyConnect</strong> <strong>VPN</strong> <strong>Client</strong><br />
1. Click Start All Programs <strong>Cisco</strong> Anny Connect <strong>VPN</strong> <strong>Client</strong><br />
2. Ensure Ornl is selected in Connect <strong>to</strong> field <strong>and</strong> click Select<br />
3. Select Yes <strong>to</strong> Certificate Security Alert<br />
4. Make sure you have the following entries:<br />
Group: ORNL<br />
<strong>Use</strong>rname: 3 Character ID<br />
Password: Pin followed by 6 Digit RSA Token ID<br />
5. Click Connect<br />
6. Click Accept<br />
7. Click Yes <strong>to</strong> second Certificate Security Alert<br />
8. Click OK if Re-authentication is required <strong>and</strong> go back <strong>to</strong> Step 4<br />
9. You are now connected <strong>to</strong> the ORNL Network