Sculpture® Plus⢠Opaques - Pentron Clinical
Sculpture® Plus⢠Opaques - Pentron Clinical
Sculpture® Plus⢠Opaques - Pentron Clinical

You also want an ePaper? Increase the reach of your titles
YUMPU automatically turns print PDFs into web optimized ePapers that Google loves.
Coping Preparation<br />
Wax & Cast Coping<br />
1. Finish and sandblast a cast alloy framework<br />
with AL 2 O 3 abrasive following standard<br />
procedure and clean with steam or with<br />
isopropyl alcohol in an ultrasonic cleaner.<br />
Note: For 1-3 surface restorations, use micro<br />
beads on your wax pattern for added retention.<br />
Apply micro beads following manufacturer’s<br />
instructions. The use of micro beads is optional<br />
for full coverage restorations.<br />
SinterKor ® Coping<br />
1. Clean the finished SinterKor coping with distilled water in an ultrasonic cleaner for<br />
5 minutes. Do not sandblast SinterKor copings.<br />
2. Prepare the coping for opaque application by applying SinterKor Gold Bonder <br />
bonding agent and firing per the instructions in the SinterKor manual.<br />
Note: After firing, the coping will have a matte finish and is ready for opaque application<br />
Fig. 1<br />
Sculpture ® Plus Paste Opaque Technique<br />
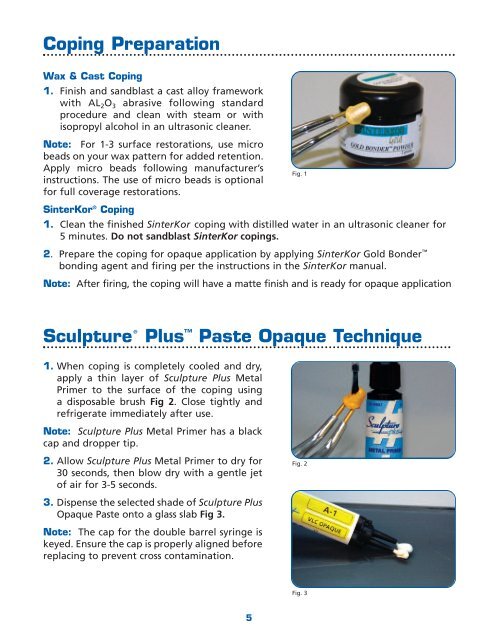
1. When coping is completely cooled and dry,<br />
apply a thin layer of Sculpture Plus Metal<br />
Primer to the surface of the coping using<br />
a disposable brush Fig 2. Close tightly and<br />
refrigerate immediately after use.<br />
Note: Sculpture Plus Metal Primer has a black<br />
cap and dropper tip.<br />
2. Allow Sculpture Plus Metal Primer to dry for<br />
30 seconds, then blow dry with a gentle jet<br />
of air for 3-5 seconds.<br />
3. Dispense the selected shade of Sculpture Plus<br />
Opaque Paste onto a glass slab Fig 3.<br />
Note: The cap for the double barrel syringe is<br />
keyed. Ensure the cap is properly aligned before<br />
replacing to prevent cross contamination.<br />
Fig. 2<br />
Fig. 3<br />
5