
You also want an ePaper? Increase the reach of your titles
YUMPU automatically turns print PDFs into web optimized ePapers that Google loves.
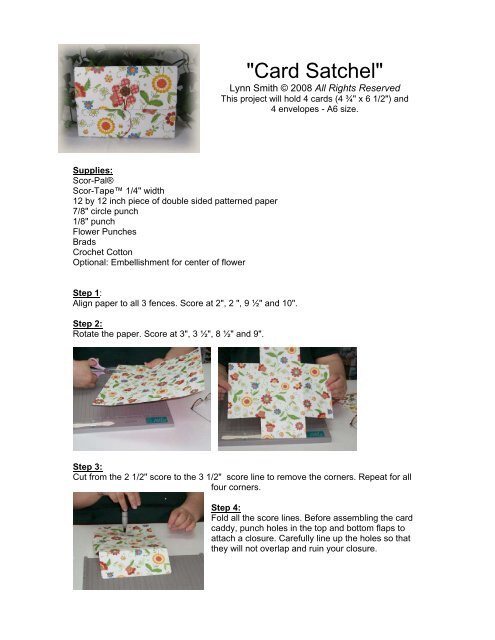
"Card Satchel"<br />
Lynn Smith © 2008 All Rights Reserved<br />
This project will hold 4 cards (4 ¾" x 6 1/2") and<br />
4 envelopes - A6 size.<br />
Supplies:<br />
<strong>Scor</strong>-<strong>Pal</strong>®<br />
<strong>Scor</strong>-Tape 1/4" width<br />
12 by 12 inch piece of double sided patterned paper<br />
7/8" circle punch<br />
1/8" punch<br />
Flower Punches<br />
Brads<br />
Crochet Cotton<br />
Optional: Embellishment for center of flower<br />
Step 1:<br />
Align paper to all 3 fences. <strong>Scor</strong>e at 2", 2 ", 9 ½" and 10".<br />
Step 2:<br />
Rotate the paper. <strong>Scor</strong>e at 3", 3 ½", 8 ½" and 9".<br />
Step 3:<br />
Cut from the 2 1/2" score to the 3 1/2" score line to remove the corners. Repeat for all<br />
four corners.<br />
Step 4:<br />
Fold all the score lines. Before assembling the card<br />
caddy, punch holes in the top and bottom flaps to<br />
attach a closure. Carefully line up the holes so that<br />
they will not overlap and ruin your closure.
Step 5:<br />
Use the 7/8 inch circle punch to punch 3 circles from the<br />
removed corners pieces.<br />
Step 6:<br />
Cut out a large and small flower from left over corner pieces. Reverse the large flower to<br />
show the inside pattern and place the small flower on top. Punch a hole in the center for<br />
the brad. Punch a hole in the top of the satchel for the flowers. Refer to photo of finished<br />
project for placement. Push the brad through all three layers.<br />
Step 7:<br />
Cover the back of the brad with one of the circles.<br />
Step 8:<br />
Punch a hole in one of the remaining two circles. Punch a hole<br />
in the bottom flap of the satchel.<br />
Refer to photo of finished project for placement.<br />
Attach the circle to the card satchel with a brad.<br />
Cover the back of the brad with the remaining circle.<br />
Step 9:<br />
Attach a length of crochet cotton or thin ribbon to complete<br />
the closure.<br />
Step 10:<br />
Use a corner rounder on side flaps. Use <strong>Scor</strong>-Tape to<br />
adhere the bottom flap to the side flaps.