NetArch - Lab nË5 - LIP6
NetArch - Lab nË5 - LIP6
NetArch - Lab nË5 - LIP6
You also want an ePaper? Increase the reach of your titles
YUMPU automatically turns print PDFs into web optimized ePapers that Google loves.
Master Informatique <strong>NetArch</strong> Network Architecture<br />
3.4 Local HTTP Traffic (LAN)<br />
3.4.1 Capturing TCP traffic resulting from local HTTP exchange<br />
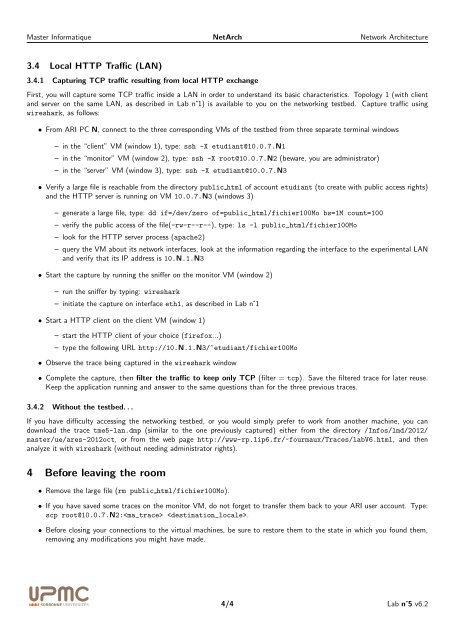
First, you will capture some TCP traffic inside a LAN in order to understand its basic characteristics. Topology 1 (with client<br />
and server on the same LAN, as described in <strong>Lab</strong> n˚1) is available to you on the networking testbed. Capture traffic using<br />
wireshark, as follows:<br />
• From ARI PC N, connect to the three corresponding VMs of the testbed from three separate terminal windows<br />
– in the “client” VM (window 1), type: ssh -X etudiant@10.0.7.N1<br />
– in the “monitor” VM (window 2), type: ssh -X root@10.0.7.N2 (beware, you are administrator)<br />
– in the “server” VM (window 3), type: ssh -X etudiant@10.0.7.N3<br />
• Verify a large file is reachable from the directory public html of account etudiant (to create with public access rights)<br />
and the HTTP server is running on VM 10.0.7.N3 (windows 3)<br />
– generate a large file, type: dd if=/dev/zero of=public_html/fichier100Mo bs=1M count=100<br />
– verify the public access of the file(-rw-r--r--), type: ls -l public_html/fichier100Mo<br />
– look for the HTTP server process (apache2)<br />
– query the VM about its network interfaces, look at the information regarding the interface to the experimental LAN<br />
and verify that its IP address is 10.N.1.N3<br />
• Start the capture by running the sniffer on the monitor VM (window 2)<br />
– run the sniffer by typing: wireshark<br />
– initiate the capture on interface eth1, as described in <strong>Lab</strong> n˚1<br />
• Start a HTTP client on the client VM (window 1)<br />
– start the HTTP client of your choice (firefox...)<br />
– type the following URL http://10.N.1.N3/~etudiant/fichier100Mo<br />
• Observe the trace being captured in the wireshark window<br />
• Complete the capture, then filter the traffic to keep only TCP (filter = tcp). Save the filtered trace for later reuse.<br />
Keep the application running and answer to the same questions than for the three previous traces.<br />
3.4.2 Without the testbed. . .<br />
If you have difficulty accessing the networking testbed, or you would simply prefer to work from another machine, you can<br />
download the trace tme5-lan.dmp (similar to the one previously captured) either from the directory /Infos/lmd/2012/<br />
master/ue/ares-2012oct, or from the web page http://www-rp.lip6.fr/~fourmaux/Traces/labV6.html, and then<br />
analyze it with wireshark (without needing administrator rights).<br />
4 Before leaving the room<br />
• Remove the large file (rm public html/fichier100Mo).<br />
• If you have saved some traces on the monitor VM, do not forget to transfer them back to your ARI user account. Type:<br />
scp root@10.0.7.N2: .<br />
• Before closing your connections to the virtual machines, be sure to restore them to the state in which you found them,<br />
removing any modifications you might have made.<br />
4/4 <strong>Lab</strong> n˚5 v6.2


