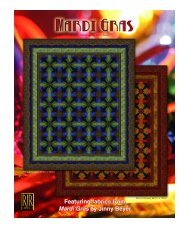
Download PDF - Jinny Beyer Studio
Download PDF - Jinny Beyer Studio
Download PDF - Jinny Beyer Studio

You also want an ePaper? Increase the reach of your titles
YUMPU automatically turns print PDFs into web optimized ePapers that Google loves.
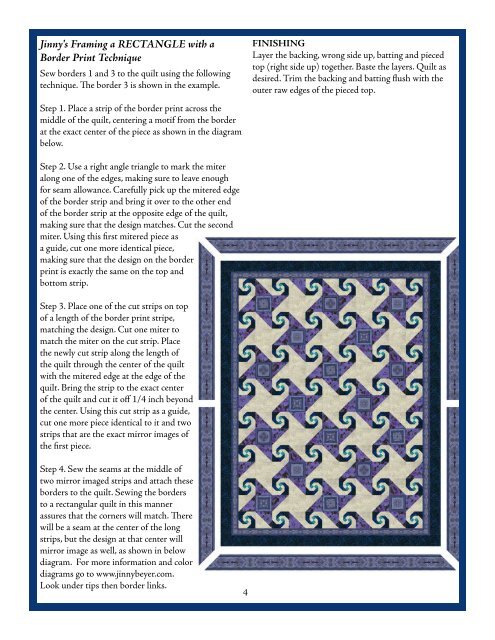
<strong>Jinny</strong>'s Framing a RECTANGLE with a<br />
Border Print Technique<br />
Sew borders 1 and 3 to the quilt using the following<br />
technique. The border 3 is shown in the example.<br />
FINISHING<br />
Layer the backing, wrong side up, batting and pieced<br />
top (right side up) together. Baste the layers. Quilt as<br />
desired. Trim the backing and batting flush with the<br />
outer raw edges of the pieced top.<br />
Step 1. Place a strip of the border print across the<br />
middle of the quilt, centering a motif from the border<br />
at the exact center of the piece as shown in the diagram<br />
below.<br />
Step 2. Use a right angle triangle to mark the miter<br />
along one of the edges, making sure to leave enough<br />
for seam allowance. Carefully pick up the mitered edge<br />
of the border strip and bring it over to the other end<br />
of the border strip at the opposite edge of the quilt,<br />
making sure that the design matches. Cut the second<br />
miter. Using this first mitered piece as<br />
a guide, cut one more identical piece,<br />
making sure that the design on the border<br />
print is exactly the same on the top and<br />
bottom strip.<br />
Step 3. Place one of the cut strips on top<br />
of a length of the border print stripe,<br />
matching the design. Cut one miter to<br />
match the miter on the cut strip. Place<br />
the newly cut strip along the length of<br />
the quilt through the center of the quilt<br />
with the mitered edge at the edge of the<br />
quilt. Bring the strip to the exact center<br />
of the quilt and cut it off 1/4 inch beyond<br />
the center. Using this cut strip as a guide,<br />
cut one more piece identical to it and two<br />
strips that are the exact mirror images of<br />
the first piece.<br />
Step 4. Sew the seams at the middle of<br />
two mirror imaged strips and attach these<br />
borders to the quilt. Sewing the borders<br />
to a rectangular quilt in this manner<br />
assures that the corners will match. There<br />
will be a seam at the center of the long<br />
strips, but the design at that center will<br />
mirror image as well, as shown in below<br />
diagram. For more information and color<br />
diagrams go to www.jinnybeyer.com.<br />
Look under tips then border links.<br />
4