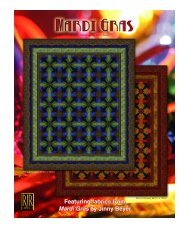
Download PDF - Jinny Beyer Studio
Download PDF - Jinny Beyer Studio
Download PDF - Jinny Beyer Studio

Create successful ePaper yourself
Turn your PDF publications into a flip-book with our unique Google optimized e-Paper software.
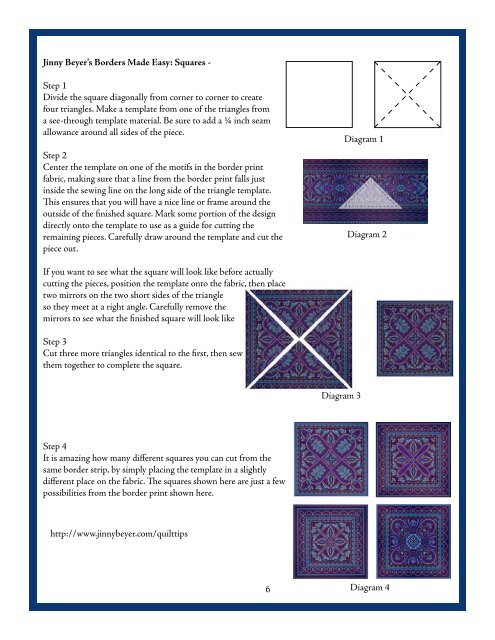
<strong>Jinny</strong> <strong>Beyer</strong>'s Borders Made Easy: Squares -<br />
Step 1<br />
Divide the square diagonally from corner to corner to create<br />
four triangles. Make a template from one of the triangles from<br />
a see-through template material. Be sure to add a ¼ inch seam<br />
allowance around all sides of the piece.<br />
Step 2<br />
Center the template on one of the motifs in the border print<br />
fabric, making sure that a line from the border print falls just<br />
inside the sewing line on the long side of the triangle template.<br />
This ensures that you will have a nice line or frame around the<br />
outside of the finished square. Mark some portion of the design<br />
directly onto the template to use as a guide for cutting the<br />
remaining pieces. Carefully draw around the template and cut the<br />
piece out.<br />
Diagram 1<br />
Diagram 2<br />
If you want to see what the square will look like before actually<br />
cutting the pieces, position the template onto the fabric, then place<br />
two mirrors on the two short sides of the triangle<br />
so they meet at a right angle. Carefully remove the<br />
mirrors to see what the finished square will look like<br />
Step 3<br />
Cut three more triangles identical to the first, then sew<br />
them together to complete the square.<br />
Diagram 3<br />
Step 4<br />
It is amazing how many different squares you can cut from the<br />
same border strip, by simply placing the template in a slightly<br />
different place on the fabric. The squares shown here are just a few<br />
possibilities from the border print shown here.<br />
http://www.jinnybeyer.com/quilttips<br />
6<br />
Diagram 4