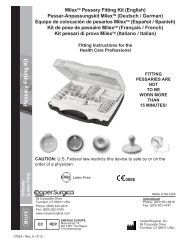
36598-DFU - CooperSurgical
36598-DFU - CooperSurgical
36598-DFU - CooperSurgical

Create successful ePaper yourself
Turn your PDF publications into a flip-book with our unique Google optimized e-Paper software.
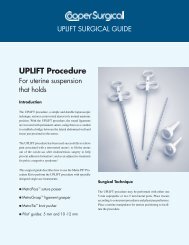
Tip: Traversing the round ligaments<br />
It is not necessary to remain within the round ligament as<br />
it is traversed. If the MetraPass suture passer pushes<br />
through the round ligament, withdraw the suture passer<br />
until it is back within the round ligament and continue the<br />
traverse. If the round ligament becomes friable as it is traversed,<br />
weave in and out with the MetraPass suture passer<br />
to obtain bites of tissue along the round ligament to create<br />
a secure suspension.<br />
Reposition the Uterus<br />
1. Once both sides have been invested with suture, remove<br />
the uterine manipulator so a correct anatomic position<br />
can be approximated. Pull on the ends of the sutures<br />
until the round ligaments are shortened appropriately,<br />
gently lifting the uterus into a slightly anteverted position<br />
on the midline mimicking the patient’s normal<br />
anatomy. Tie the suture with 3-4 knots (Figure R).<br />
5. Grasp the suture with the DuoGrasp grasper. Hold the<br />
suture in place and completely withdraw the MetraPass<br />
suture passer.<br />
6. For the second pass, insert the MetraPass suture passer<br />
through the same skin nick, so that the tip is positioned<br />
preperitoneally at the entrance to the round ligament<br />
(Figure P). Leave a 0.5 - 1.0 cm space between the first<br />
insertion and second insertion at the fascial level to<br />
create a fascial bridge to support the tied suture.<br />
Note: When creating the fascial bridge, the second<br />
entry point should be made across the fibers of the<br />
fascia from cephalad to caudad. Entering along the<br />
fibers may cause the suture to pull out.<br />
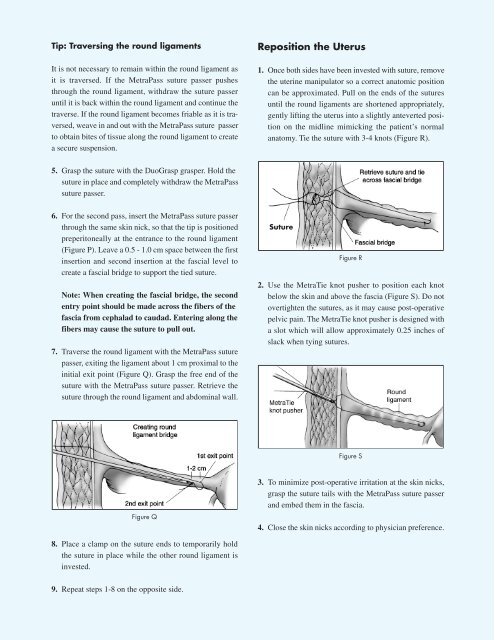
7. Traverse the round ligament with the MetraPass suture<br />
passer, exiting the ligament about 1 cm proximal to the<br />
initial exit point (Figure Q). Grasp the free end of the<br />
suture with the MetraPass suture passer. Retrieve the<br />
suture through the round ligament and abdominal wall.<br />
Suture<br />
Figure R<br />
2. Use the MetraTie knot pusher to position each knot<br />
below the skin and above the fascia (Figure S). Do not<br />
overtighten the sutures, as it may cause post-operative<br />
pelvic pain. The MetraTie knot pusher is designed with<br />
a slot which will allow approximately 0.25 inches of<br />
slack when tying sutures.<br />
Figure S<br />
Figure Q<br />
3. To minimize post-operative irritation at the skin nicks,<br />
grasp the suture tails with the MetraPass suture passer<br />
and embed them in the fascia.<br />
4. Close the skin nicks according to physician preference.<br />
8. Place a clamp on the suture ends to temporarily hold<br />
the suture in place while the other round ligament is<br />
invested.<br />
9. Repeat steps 1-8 on the opposite side.