
Create successful ePaper yourself
Turn your PDF publications into a flip-book with our unique Google optimized e-Paper software.
18<br />
REPLACEMENT PARTS AND ACCESSORIES<br />
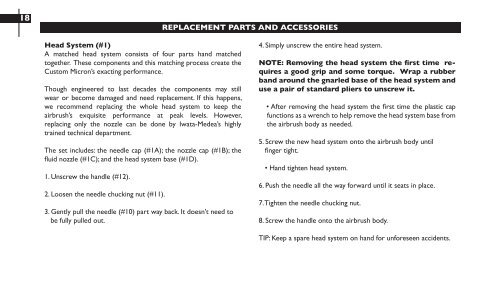
Head System (#1)<br />
A matched head system consists of four parts hand matched<br />
together. These components and this matching process create the<br />
Custom Micron’s exacting performance.<br />
Though engineered to last decades the components may still<br />
wear or become damaged and need replacement. If this happens,<br />
we recommend replacing the whole head system to keep the<br />
<strong>airbrush</strong>’s exquisite performance at peak levels. However,<br />
replacing only the nozzle can be done by Iwata-Medea’s highly<br />
trained technical department.<br />
The set includes: the needle cap (#1A); the nozzle cap (#1B); the<br />
fluid nozzle (#1C); and the head system base (#1D).<br />
1. Unscrew the handle (#12).<br />
2. Loosen the needle chucking nut (#11).<br />
3. Gently pull the needle (#10) part way back. It doesn’t need to<br />
be fully pulled out.<br />
4. Simply unscrew the entire head system.<br />
NOTE: Removing the head system the first time requires<br />
a good grip and some torque. Wrap a rubber<br />
band around the gnarled base of the head system and<br />
use a pair of standard pliers to unscrew it.<br />
• After removing the head system the first time the plastic cap<br />
functions as a wrench to help remove the head system base from<br />
the <strong>airbrush</strong> body as needed.<br />
5. Screw the new head system onto the <strong>airbrush</strong> body until<br />
finger tight.<br />
• Hand tighten head system.<br />
6. Push the needle all the way forward until it seats in place.<br />
7. Tighten the needle chucking nut.<br />
8. Screw the handle onto the <strong>airbrush</strong> body.<br />
TIP: Keep a spare head system on hand for unforeseen accidents.