
Create successful ePaper yourself
Turn your PDF publications into a flip-book with our unique Google optimized e-Paper software.
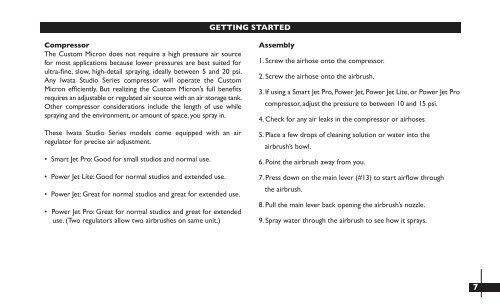
GETTING STARTED<br />
Compressor<br />
The Custom Micron does not require a high pressure air source<br />
for most applications because lower pressures are best suited for<br />
ultra-fine, slow, high-detail spraying, ideally between 5 and 20 psi.<br />
Any Iwata Studio Series compressor will operate the Custom<br />
Micron efficiently. But realizing the Custom Micron’s full benefits<br />
requires an adjustable or regulated air source with an air storage tank.<br />
Other compressor considerations include the length of use while<br />
spraying and the environment, or amount of space, you spray in.<br />
These Iwata Studio Series models come equipped with an air<br />
regulator for precise air adjustment.<br />
• Smart Jet Pro: Good for small studios and normal use.<br />
• Power Jet Lite: Good for normal studios and extended use.<br />
• Power Jet: Great for normal studios and great for extended use.<br />
• Power Jet Pro: Great for normal studios and great for extended<br />
use. (Two regulators allow two <strong>airbrush</strong>es on same unit.)<br />
Assembly<br />
1. Screw the airhose onto the compressor.<br />
2. Screw the airhose onto the <strong>airbrush</strong>.<br />
3. If using a Smart Jet Pro, Power Jet, Power Jet Lite, or Power Jet Pro<br />
compressor, adjust the pressure to between 10 and 15 psi.<br />
4. Check for any air leaks in the compressor or airhoses<br />
5. Place a few drops of cleaning solution or water into the<br />
<strong>airbrush</strong>’s bowl.<br />
6. Point the <strong>airbrush</strong> away from you.<br />
7. Press down on the main lever (#13) to start airflow through<br />
the <strong>airbrush</strong>.<br />
8. Pull the main lever back opening the <strong>airbrush</strong>’s nozzle.<br />
9. Spray water through the <strong>airbrush</strong> to see how it sprays.<br />
7