X Factor Manual
X Factor Manual
X Factor Manual

Create successful ePaper yourself
Turn your PDF publications into a flip-book with our unique Google optimized e-Paper software.
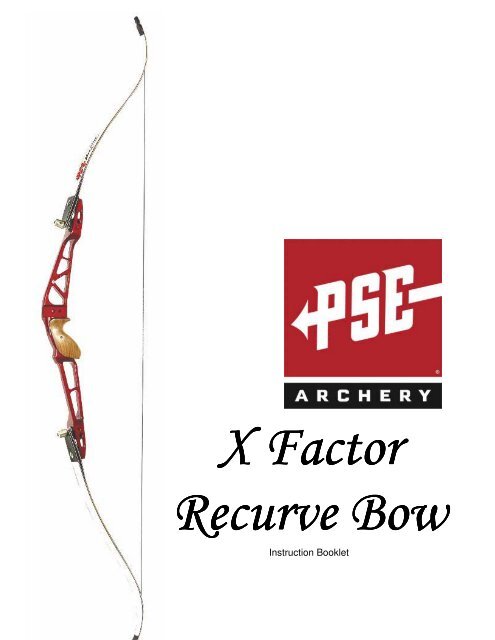
X <strong>Factor</strong><br />
Recurve Bow<br />
Instruction Booklet
Thank you for purchasing a PSE X <strong>Factor</strong> Recurve Bow. Your<br />
X <strong>Factor</strong> was manufactured from the finest materials available and<br />
handcrafted with pride in the United States of America. With proper<br />
use and care you will enjoy your X <strong>Factor</strong> for years to come.<br />
IMPORTANT INFORMATION<br />
1. NEVER DRY-FIRE any bow. Dry-fire is to draw and release the bowstring<br />
without an arrow loaded in the bow. Dry-firing will likely cause damage to the<br />
bow and serious injury to the archer.<br />
2. Always be sure of your intended target as well as what lies behind the target<br />
area. An arrow can travel a considerable distance, so it is important to have a<br />
safe and sound backstop.<br />
3. Never expose your bow to extreme heat or prolonged moisture. The inside of<br />
a vehicle can become extremely hot even when outside temperatures are not<br />
excessive. Store your bow in a cool dry area.<br />
4. Always inspect your bow thoroughly before each shooting session to insure<br />
that it assembled correctly and all of its components are in good working<br />
order.<br />
5. Inspect your arrows to insure that they are straight and that each nock is in<br />
good condition. A cracked nock can break when fired and cause the bow to<br />
“dry-fire” resulting in possible injury to the archer and damage to the bow.<br />
LIMITED LIFETIME WARRANTY<br />
The X <strong>Factor</strong> riser assembly is backed by a PSE limited lifetime warranty to the original owner for the life of<br />
the product. The riser will be replaced or repaired to restore it to its original performance. The bowstring and<br />
other wearable items are not covered by this warranty.<br />
Evidence of abuse, mishandling, misuse or alteration voids any claim to this warranty.<br />
PSE cannot be held responsible for injury or product failure resulting from improper use or neglect of<br />
maintenance.<br />
PSE makes no other claims either expressed or implied. In the interest of product improvement and<br />
consumer safety, PSE reserves the right to makes changes in the product design, color and or specifications<br />
without notice.<br />
-2-
RECURVE BOW TEMINOLOGY<br />
Upper Limb<br />
Bowstring<br />
Weight/Tiller<br />
Adjustment Bolt<br />
Tiller<br />
Measurement<br />
Point<br />
Riser<br />
Stabilizer<br />
Mount<br />
Wooden Grip<br />
Weight/Tiller<br />
Adjustment Bolt<br />
Clicker<br />
Mount<br />
Tiller<br />
Measurement<br />
Point<br />
Adjustable<br />
Clicker Plates<br />
Sight<br />
mount<br />
holes<br />
Lower Limb<br />
Arrow Rest<br />
Mounts<br />
-3-
STRINGING<br />
Special attention must be given to the proper procedure for stringing your X <strong>Factor</strong><br />
bow. The safest and the only procedure recommended by PSE is to use PSE Bow<br />
Stringer P/N 41076, which is available from your local PSE dealer.<br />
When using a PSE Bow Stringer use the following procedures:<br />
Twist the bowstring to the desired length. Place the larger loop of the bowstring over<br />
the upper limb and slide it down the limb a few inches. Place the smaller loop of the<br />
bowstring into the string groove on the lower limb. Next, place the large cup of the<br />
bow stringer over the tip of the lower limb and the small cup over the tip of the upper<br />
limb. With the upper limb to the left, step on the middle of the bow stringer and pull<br />
up on the bow riser grip with the right hand. With the bow flexed sufficiently, slip the<br />
upper end of the bowstring into the string groove of the upper limb. Slowly lower the<br />
bow and remove the bow stringer.<br />
To unstring the bow, reverse this procedure.<br />
NOTE: If a PSE Bow Stringer is not used, carefully follow the instructions that<br />
come with the bow stringer.<br />
-4-
BRACE HEIGHT<br />
The brace height is the perpendicular distance from the bowstring to the pivot point of the<br />
grip. Brace height is important to bow tuning. A higher brace height will decrease arrow<br />
velocity and a lower brace will increase arrow velocity.<br />
Optimum brace height is one that gives smooth action, good arrow flight, tight grouping<br />
and a quiet shot. Generally, slight variations in brace height are not critical, however at<br />
the extremes, you may get erratic arrow flight and/or excessive string noise.<br />
Brace height is changed by twisting or untwisting the bowstring or by using a different<br />
length bowstring.<br />
Brace Height<br />
String<br />
Length<br />
Recommended<br />
Brace Height<br />
64” 8” – 8-1/2”<br />
66” 8-1/4” – 8-3/4”<br />
68” 8-1/2” – 9”<br />
70” 8-3/4” – 9-1/4”<br />
-5-
PSE INTEGRATED LIMP POCKET<br />
ALIGNMENT SYSTEM<br />
Stainless Steel Limb Bolt<br />
<strong>Factor</strong>y set at minimum weight (4 turns from bottom). Draw weight can be<br />
increased to approximately 10% over marked limb weight at 28”. Loosen the<br />
setscrew on the backside of the limb bolt receiver. Turn the limb bolt clockwise<br />
to desired position and then lock by retightening the setscrew.<br />
Limb Bolt Receiver<br />
<strong>Factor</strong>y set for bow alignment.<br />
Variances in limbs or stabilizers<br />
may require fine-tuning.<br />
To Align Limbs<br />
Place a strip of masking tape on the limb where it<br />
exits the pocket. Mark the center of the limb on the<br />
tape. Loosen the hollow lock screws on each side of<br />
the pocket. Insert Allen wrench through the hollow<br />
lock screws into the adjustment screws. Move the<br />
limb bolt receiver by loosening the screw on one side<br />
and tightening the opposite screw until the desired<br />
alignment is achieved and screws are tight.<br />
Properly Aligned Bow<br />
When finished, the stabilizer and marks on<br />
the limbs should all be aligned. (see next<br />
page for details)<br />
-6-
In order to assure the limbs and the riser are in proper alignment the following<br />
steps should be followed:<br />
1. Place the bow in front of you and stand so that the bowstring is perfectly<br />
aligned with the riser. The stabilizer can be used to determine if the bow is<br />
aligned properly.<br />
2. With the string lined up with the center of the riser, the stabilizer should<br />
also align with the string. Neither side of the window on the riser should be<br />
visible. See Figures 1 and 2. Adjust the pockets so that the string is<br />
aligned with the center of the riser and limbs as well as the stabilizer.<br />
3. When the bow is adjusted properly, it will look like the bow shown in<br />
Figure 3 with the inside of the window showing a little.<br />
Stabilizer<br />
Stabilizer<br />
Figure 1<br />
Figure 2 Figure 3<br />
-7-
Precision Shooting Equipment,<br />
Inc.<br />
2727 N. Fairview Avenue<br />
P.O. Box 5487<br />
Tucson, Arizona 85703<br />
520-884-9065<br />
www.pse-archery.com<br />
P/N 98028<br />
Rev 5/07