OpenOptix ABO Study Guide - Laramy-K Optical
OpenOptix ABO Study Guide - Laramy-K Optical
OpenOptix ABO Study Guide - Laramy-K Optical
Create successful ePaper yourself
Turn your PDF publications into a flip-book with our unique Google optimized e-Paper software.
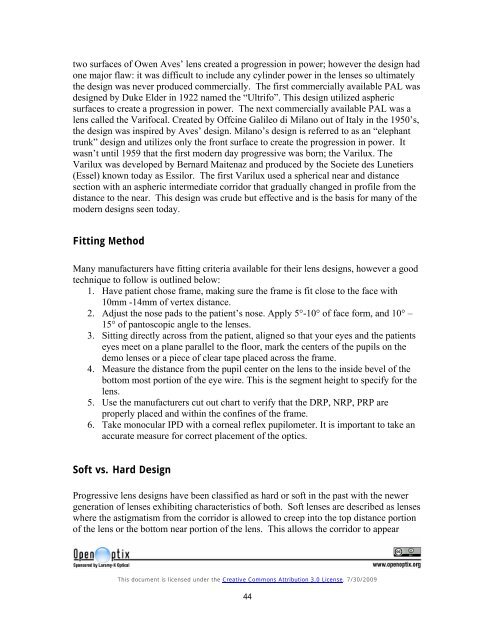
two surfaces of Owen Aves’ lens created a progression in power; however the design had<br />
one major flaw: it was difficult to include any cylinder power in the lenses so ultimately<br />
the design was never produced commercially. The first commercially available PAL was<br />
designed by Duke Elder in 1922 named the “Ultrifo”. This design utilized aspheric<br />
surfaces to create a progression in power. The next commercially available PAL was a<br />
lens called the Varifocal. Created by Offcine Galileo di Milano out of Italy in the 1950’s,<br />
the design was inspired by Aves’ design. Milano’s design is referred to as an “elephant<br />
trunk” design and utilizes only the front surface to create the progression in power. It<br />
wasn’t until 1959 that the first modern day progressive was born; the Varilux. The<br />
Varilux was developed by Bernard Maitenaz and produced by the Societe des Lunetiers<br />
(Essel) known today as Essilor. The first Varilux used a spherical near and distance<br />
section with an aspheric intermediate corridor that gradually changed in profile from the<br />
distance to the near. This design was crude but effective and is the basis for many of the<br />
modern designs seen today.<br />
Fitting Method<br />
Many manufacturers have fitting criteria available for their lens designs, however a good<br />
technique to follow is outlined below:<br />
1. Have patient chose frame, making sure the frame is fit close to the face with<br />
10mm -14mm of vertex distance.<br />
2. Adjust the nose pads to the patient’s nose. Apply 5°-10° of face form, and 10° –<br />
15° of pantoscopic angle to the lenses.<br />
3. Sitting directly across from the patient, aligned so that your eyes and the patients<br />
eyes meet on a plane parallel to the floor, mark the centers of the pupils on the<br />
demo lenses or a piece of clear tape placed across the frame.<br />
4. Measure the distance from the pupil center on the lens to the inside bevel of the<br />
bottom most portion of the eye wire. This is the segment height to specify for the<br />
lens.<br />
5. Use the manufacturers cut out chart to verify that the DRP, NRP, PRP are<br />
properly placed and within the confines of the frame.<br />
6. Take monocular IPD with a corneal reflex pupilometer. It is important to take an<br />
accurate measure for correct placement of the optics.<br />
Soft vs. Hard Design<br />
Progressive lens designs have been classified as hard or soft in the past with the newer<br />
generation of lenses exhibiting characteristics of both. Soft lenses are described as lenses<br />
where the astigmatism from the corridor is allowed to creep into the top distance portion<br />
of the lens or the bottom near portion of the lens. This allows the corridor to appear<br />
This document is licensed under the Creative Commons Attribution 3.0 License. 7/30/2009<br />
44


