MODEL 2820A & 2825A Two Diver CommunicatorâUser Manual
MODEL 2820A & 2825A Two Diver CommunicatorâUser Manual
MODEL 2820A & 2825A Two Diver CommunicatorâUser Manual
Create successful ePaper yourself
Turn your PDF publications into a flip-book with our unique Google optimized e-Paper software.
MAINTENANCE<br />
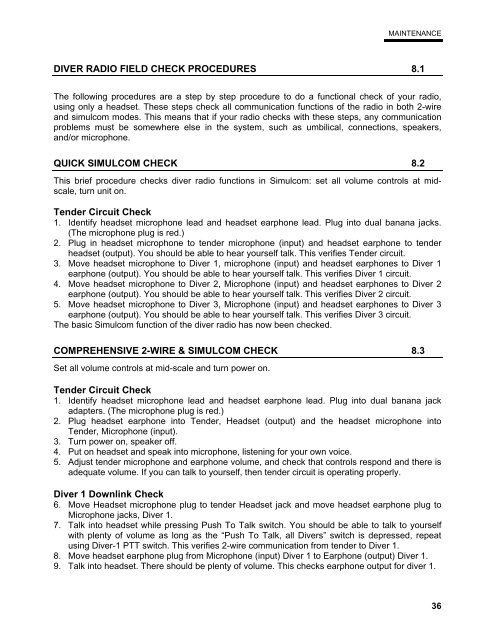
DIVER RADIO FIELD CHECK PROCEDURES 8.1<br />
The following procedures are a step by step procedure to do a functional check of your radio,<br />
using only a headset. These steps check all communication functions of the radio in both 2-wire<br />
and simulcom modes. This means that if your radio checks with these steps, any communication<br />
problems must be somewhere else in the system, such as umbilical, connections, speakers,<br />
and/or microphone.<br />
QUICK SIMULCOM CHECK 8.2<br />
This brief procedure checks diver radio functions in Simulcom: set all volume controls at midscale,<br />
turn unit on.<br />
Tender Circuit Check<br />
1. Identify headset microphone lead and headset earphone lead. Plug into dual banana jacks.<br />
(The microphone plug is red.)<br />
2. Plug in headset microphone to tender microphone (input) and headset earphone to tender<br />
headset (output). You should be able to hear yourself talk. This verifies Tender circuit.<br />
3. Move headset microphone to <strong>Diver</strong> 1, microphone (input) and headset earphones to <strong>Diver</strong> 1<br />
earphone (output). You should be able to hear yourself talk. This verifies <strong>Diver</strong> 1 circuit.<br />
4. Move headset microphone to <strong>Diver</strong> 2, Microphone (input) and headset earphones to <strong>Diver</strong> 2<br />
earphone (output). You should be able to hear yourself talk. This verifies <strong>Diver</strong> 2 circuit.<br />
5. Move headset microphone to <strong>Diver</strong> 3, Microphone (input) and headset earphones to <strong>Diver</strong> 3<br />
earphone (output). You should be able to hear yourself talk. This verifies <strong>Diver</strong> 3 circuit.<br />
The basic Simulcom function of the diver radio has now been checked.<br />
COMPREHENSIVE 2-WIRE & SIMULCOM CHECK 8.3<br />
Set all volume controls at mid-scale and turn power on.<br />
Tender Circuit Check<br />
1. Identify headset microphone lead and headset earphone lead. Plug into dual banana jack<br />
adapters. (The microphone plug is red.)<br />
2. Plug headset earphone into Tender, Headset (output) and the headset microphone into<br />
Tender, Microphone (input).<br />
3. Turn power on, speaker off.<br />
4. Put on headset and speak into microphone, listening for your own voice.<br />
5. Adjust tender microphone and earphone volume, and check that controls respond and there is<br />
adequate volume. If you can talk to yourself, then tender circuit is operating properly.<br />
<strong>Diver</strong> 1 Downlink Check<br />
6. Move Headset microphone plug to tender Headset jack and move headset earphone plug to<br />
Microphone jacks, <strong>Diver</strong> 1.<br />
7. Talk into headset while pressing Push To Talk switch. You should be able to talk to yourself<br />
with plenty of volume as long as the “Push To Talk, all <strong>Diver</strong>s” switch is depressed, repeat<br />
using <strong>Diver</strong>-1 PTT switch. This verifies 2-wire communication from tender to <strong>Diver</strong> 1.<br />
8. Move headset earphone plug from Microphone (input) <strong>Diver</strong> 1 to Earphone (output) <strong>Diver</strong> 1.<br />
9. Talk into headset. There should be plenty of volume. This checks earphone output for diver 1.<br />
36


