Winter-Related Event Reporting--Appendix A
Winter-Related Event Reporting--Appendix A
Winter-Related Event Reporting--Appendix A

You also want an ePaper? Increase the reach of your titles
YUMPU automatically turns print PDFs into web optimized ePapers that Google loves.
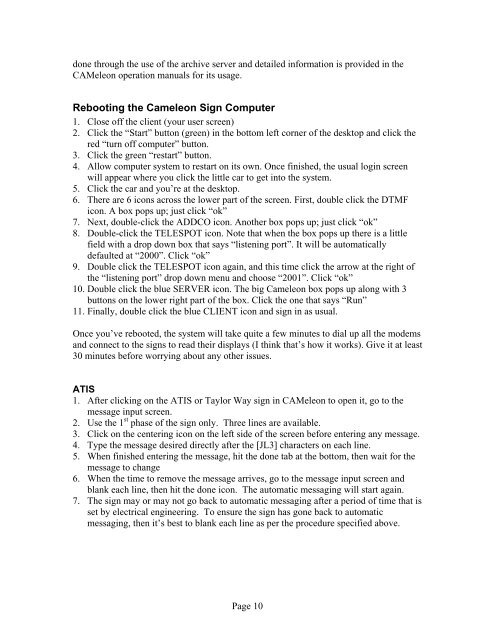
done through the use of the archive server and detailed information is provided in the<br />
CAMeleon operation manuals for its usage.<br />
Rebooting the Cameleon Sign Computer<br />
1. Close off the client (your user screen)<br />
2. Click the “Start” button (green) in the bottom left corner of the desktop and click the<br />
red “turn off computer” button.<br />
3. Click the green “restart” button.<br />
4. Allow computer system to restart on its own. Once finished, the usual login screen<br />
will appear where you click the little car to get into the system.<br />
5. Click the car and you’re at the desktop.<br />
6. There are 6 icons across the lower part of the screen. First, double click the DTMF<br />
icon. A box pops up; just click “ok”<br />
7. Next, double-click the ADDCO icon. Another box pops up; just click “ok”<br />
8. Double-click the TELESPOT icon. Note that when the box pops up there is a little<br />
field with a drop down box that says “listening port”. It will be automatically<br />
defaulted at “2000”. Click “ok”<br />
9. Double click the TELESPOT icon again, and this time click the arrow at the right of<br />
the “listening port” drop down menu and choose “2001”. Click “ok”<br />
10. Double click the blue SERVER icon. The big Cameleon box pops up along with 3<br />
buttons on the lower right part of the box. Click the one that says “Run”<br />
11. Finally, double click the blue CLIENT icon and sign in as usual.<br />
Once you’ve rebooted, the system will take quite a few minutes to dial up all the modems<br />
and connect to the signs to read their displays (I think that’s how it works). Give it at least<br />
30 minutes before worrying about any other issues.<br />
ATIS<br />
1. After clicking on the ATIS or Taylor Way sign in CAMeleon to open it, go to the<br />
message input screen.<br />
2. Use the 1 st phase of the sign only. Three lines are available.<br />
3. Click on the centering icon on the left side of the screen before entering any message.<br />
4. Type the message desired directly after the [JL3] characters on each line.<br />
5. When finished entering the message, hit the done tab at the bottom, then wait for the<br />
message to change<br />
6. When the time to remove the message arrives, go to the message input screen and<br />
blank each line, then hit the done icon. The automatic messaging will start again.<br />
7. The sign may or may not go back to automatic messaging after a period of time that is<br />
set by electrical engineering. To ensure the sign has gone back to automatic<br />
messaging, then it’s best to blank each line as per the procedure specified above.<br />
Page 10