

SXVR-H9 handbook.pdf - Starlight Xpress
SXVR-H9 handbook.pdf - Starlight Xpress
SXVR-H9 handbook.pdf - Starlight Xpress

You also want an ePaper? Increase the reach of your titles
YUMPU automatically turns print PDFs into web optimized ePapers that Google loves.
Handbook for the <strong>SXVR</strong>-<strong>H9</strong> Issue 1 June 2009<br />
3) The resulting image will probably look faint and dull, with a pale background due<br />
to light pollution. It is now time to process the ‘luminance’ (brightness and contrast)<br />
of the image to get the best visual appearance. First, use the ‘Normal’ contrast stretch<br />
to darken the background by setting the ‘Black’ slider just below the main peak of the<br />
histogram. Alternatively, you can use the ‘Remove Background’ option to let the<br />
software decide on the best setting. This will greatly reduce the background<br />
brightness and the image will begin to look rather more attractive, although dark. You<br />
can now try brightening the highlights with another ‘Normal’ stretch, in which you<br />
bring down the ‘White’ slider to just above the main image peak. The best setting for<br />
this is rather more difficult to guess and you may need several attempts before the<br />
result is ideal. Just use the ‘Undo last filter’ function, if necessary, to correct a<br />
mistake.<br />
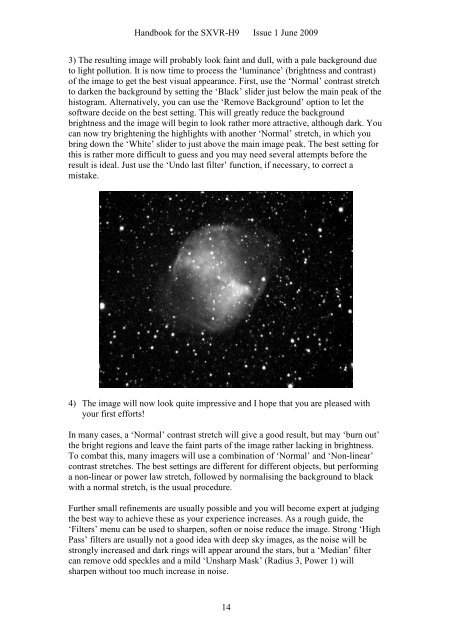
4) The image will now look quite impressive and I hope that you are pleased with<br />
your first efforts!<br />
In many cases, a ‘Normal’ contrast stretch will give a good result, but may ‘burn out’<br />
the bright regions and leave the faint parts of the image rather lacking in brightness.<br />
To combat this, many imagers will use a combination of ‘Normal’ and ‘Non-linear’<br />
contrast stretches. The best settings are different for different objects, but performing<br />
a non-linear or power law stretch, followed by normalising the background to black<br />
with a normal stretch, is the usual procedure.<br />
Further small refinements are usually possible and you will become expert at judging<br />
the best way to achieve these as your experience increases. As a rough guide, the<br />
‘Filters’ menu can be used to sharpen, soften or noise reduce the image. Strong ‘High<br />
Pass’ filters are usually not a good idea with deep sky images, as the noise will be<br />
strongly increased and dark rings will appear around the stars, but a ‘Median’ filter<br />
can remove odd speckles and a mild ‘Unsharp Mask’ (Radius 3, Power 1) will<br />
sharpen without too much increase in noise.<br />
14


