suspension - CatalogRack.com
suspension - CatalogRack.com
suspension - CatalogRack.com
You also want an ePaper? Increase the reach of your titles
YUMPU automatically turns print PDFs into web optimized ePapers that Google loves.
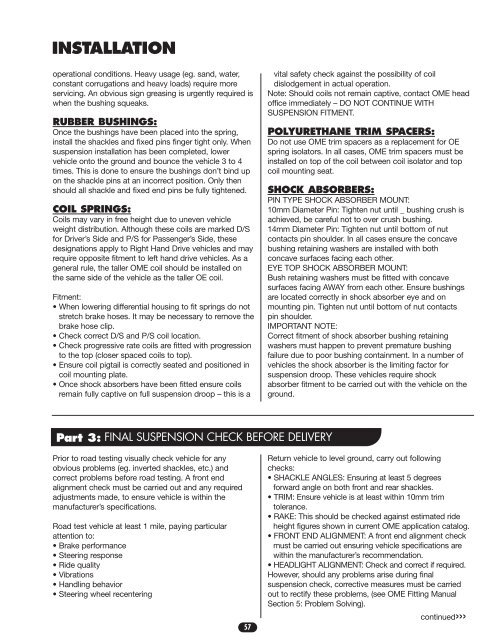
INSTALLATION<br />
operational conditions. Heavy usage (eg. sand, water,<br />
constant corrugations and heavy loads) require more<br />
servicing. An obvious sign greasing is urgently required is<br />
when the bushing squeaks.<br />
RUBBER BUSHINGS:<br />
Once the bushings have been placed into the spring,<br />
install the shackles and fixed pins finger tight only. When<br />
<strong>suspension</strong> installation has been <strong>com</strong>pleted, lower<br />
vehicle onto the ground and bounce the vehicle 3 to 4<br />
times. This is done to ensure the bushings don’t bind up<br />
on the shackle pins at an incorrect position. Only then<br />
should all shackle and fixed end pins be fully tightened.<br />
COIL SPRINGS:<br />
Coils may vary in free height due to uneven vehicle<br />
weight distribution. Although these coils are marked D/S<br />
for Driver’s Side and P/S for Passenger’s Side, these<br />
designations apply to Right Hand Drive vehicles and may<br />
require opposite fitment to left hand drive vehicles. As a<br />
general rule, the taller OME coil should be installed on<br />
the same side of the vehicle as the taller OE coil.<br />
Fitment:<br />
• When lowering differential housing to fit springs do not<br />
stretch brake hoses. It may be necessary to remove the<br />
brake hose clip.<br />
• Check correct D/S and P/S coil location.<br />
• Check progressive rate coils are fitted with progression<br />
to the top (closer spaced coils to top).<br />
• Ensure coil pigtail is correctly seated and positioned in<br />
coil mounting plate.<br />
• Once shock absorbers have been fitted ensure coils<br />
remain fully captive on full <strong>suspension</strong> droop – this is a<br />
vital safety check against the possibility of coil<br />
dislodgement in actual operation.<br />
Note: Should coils not remain captive, contact OME head<br />
office immediately – DO NOT CONTINUE WITH<br />
SUSPENSION FITMENT.<br />
POLYURETHANE TRIM SPACERS:<br />
Do not use OME trim spacers as a replacement for OE<br />
spring isolators. In all cases, OME trim spacers must be<br />
installed on top of the coil between coil isolator and top<br />
coil mounting seat.<br />
SHOCK ABSORBERS:<br />
PIN TYPE SHOCK ABSORBER MOUNT:<br />
10mm Diameter Pin: Tighten nut until _ bushing crush is<br />
achieved, be careful not to over crush bushing.<br />
14mm Diameter Pin: Tighten nut until bottom of nut<br />
contacts pin shoulder. In all cases ensure the concave<br />
bushing retaining washers are installed with both<br />
concave surfaces facing each other.<br />
EYE TOP SHOCK ABSORBER MOUNT:<br />
Bush retaining washers must be fitted with concave<br />
surfaces facing AWAY from each other. Ensure bushings<br />
are located correctly in shock absorber eye and on<br />
mounting pin. Tighten nut until bottom of nut contacts<br />
pin shoulder.<br />
IMPORTANT NOTE:<br />
Correct fitment of shock absorber bushing retaining<br />
washers must happen to prevent premature bushing<br />
failure due to poor bushing containment. In a number of<br />
vehicles the shock absorber is the limiting factor for<br />
<strong>suspension</strong> droop. These vehicles require shock<br />
absorber fitment to be carried out with the vehicle on the<br />
ground.<br />
Part 3: FINAL SUSPENSION CHECK BEFORE DELIVERY<br />
Prior to road testing visually check vehicle for any<br />
obvious problems (eg. inverted shackles, etc.) and<br />
correct problems before road testing. A front end<br />
alignment check must be carried out and any required<br />
adjustments made, to ensure vehicle is within the<br />
manufacturer’s specifications.<br />
Road test vehicle at least 1 mile, paying particular<br />
attention to:<br />
• Brake performance<br />
• Steering response<br />
• Ride quality<br />
• Vibrations<br />
• Handling behavior<br />
• Steering wheel recentering<br />
57<br />
Return vehicle to level ground, carry out following<br />
checks:<br />
• SHACKLE ANGLES: Ensuring at least 5 degrees<br />
forward angle on both front and rear shackles.<br />
• TRIM: Ensure vehicle is at least within 10mm trim<br />
tolerance.<br />
• RAKE: This should be checked against estimated ride<br />
height figures shown in current OME application catalog.<br />
• FRONT END ALIGNMENT: A front end alignment check<br />
must be carried out ensuring vehicle specifications are<br />
within the manufacturer’s re<strong>com</strong>mendation.<br />
• HEADLIGHT ALIGNMENT: Check and correct if required.<br />
However, should any problems arise during final<br />
<strong>suspension</strong> check, corrective measures must be carried<br />
out to rectify these problems, (see OME Fitting Manual<br />
Section 5: Problem Solving).<br />
continued›››


