

INSTRUCTION MANUAL - Singer
INSTRUCTION MANUAL - Singer
INSTRUCTION MANUAL - Singer

You also want an ePaper? Increase the reach of your titles
YUMPU automatically turns print PDFs into web optimized ePapers that Google loves.
4830 & 4832<br />
Applications with straight stitching<br />
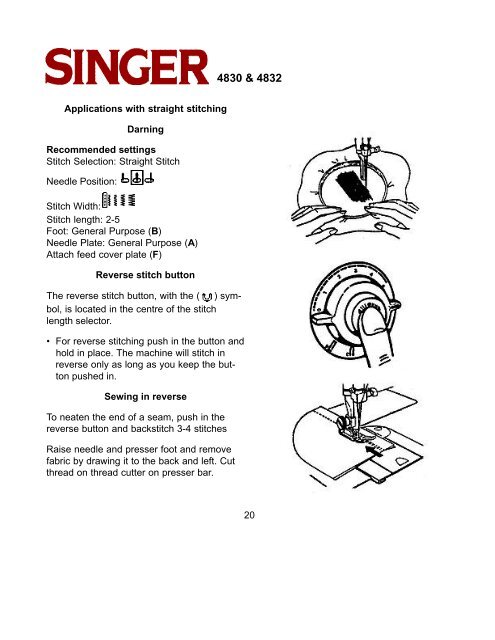
Darning<br />
Recommended settings<br />
Stitch Selection: Straight Stitch<br />
Needle Position:<br />
Stitch Width:<br />
Stitch length: 2-5<br />
Foot: General Purpose (B)<br />
Needle Plate: General Purpose (A)<br />
Attach feed cover plate (F)<br />
Reverse stitch button<br />
The reverse stitch button, with the ( ) symbol,<br />
is located in the centre of the stitch<br />
length selector.<br />
• For reverse stitching push in the button and<br />
hold in place. The machine will stitch in<br />
reverse only as long as you keep the button<br />
pushed in.<br />
Sewing in reverse<br />
To neaten the end of a seam, push in the<br />
reverse button and backstitch 3-4 stitches<br />
Raise needle and presser foot and remove<br />
fabric by drawing it to the back and left. Cut<br />
thread on thread cutter on presser bar.<br />
20


