How to Import Electronic Clocks into WinBird
How to Import Electronic Clocks into WinBird
How to Import Electronic Clocks into WinBird

You also want an ePaper? Increase the reach of your titles
YUMPU automatically turns print PDFs into web optimized ePapers that Google loves.
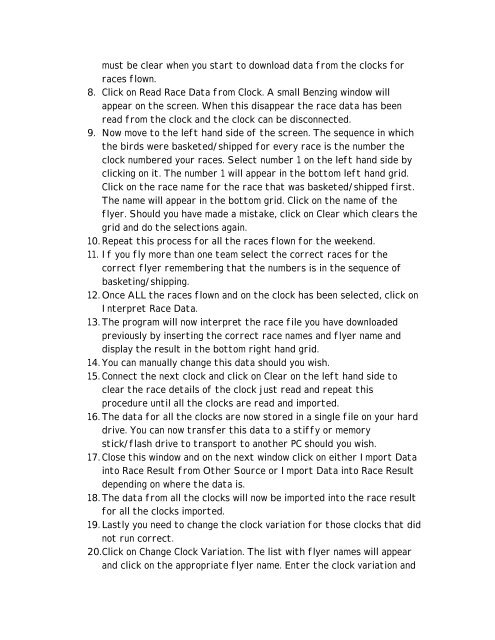
must be clear when you start <strong>to</strong> download data from the clocks for<br />
races flown.<br />
8. Click on Read Race Data from Clock. A small Benzing window will<br />
appear on the screen. When this disappear the race data has been<br />
read from the clock and the clock can be disconnected.<br />
9. Now move <strong>to</strong> the left hand side of the screen. The sequence in which<br />
the birds were basketed/shipped for every race is the number the<br />
clock numbered your races. Select number 1 on the left hand side by<br />
clicking on it. The number 1 will appear in the bot<strong>to</strong>m left hand grid.<br />
Click on the race name for the race that was basketed/shipped first.<br />
The name will appear in the bot<strong>to</strong>m grid. Click on the name of the<br />
flyer. Should you have made a mistake, click on Clear which clears the<br />
grid and do the selections again.<br />
10. Repeat this process for all the races flown for the weekend.<br />
11. If you fly more than one team select the correct races for the<br />
correct flyer remembering that the numbers is in the sequence of<br />
basketing/shipping.<br />
12. Once ALL the races flown and on the clock has been selected, click on<br />
Interpret Race Data.<br />
13. The program will now interpret the race file you have downloaded<br />
previously by inserting the correct race names and flyer name and<br />
display the result in the bot<strong>to</strong>m right hand grid.<br />
14. You can manually change this data should you wish.<br />
15. Connect the next clock and click on Clear on the left hand side <strong>to</strong><br />
clear the race details of the clock just read and repeat this<br />
procedure until all the clocks are read and imported.<br />
16. The data for all the clocks are now s<strong>to</strong>red in a single file on your hard<br />
drive. You can now transfer this data <strong>to</strong> a stiffy or memory<br />
stick/flash drive <strong>to</strong> transport <strong>to</strong> another PC should you wish.<br />
17. Close this window and on the next window click on either <strong>Import</strong> Data<br />
in<strong>to</strong> Race Result from Other Source or <strong>Import</strong> Data in<strong>to</strong> Race Result<br />
depending on where the data is.<br />
18. The data from all the clocks will now be imported in<strong>to</strong> the race result<br />
for all the clocks imported.<br />
19. Lastly you need <strong>to</strong> change the clock variation for those clocks that did<br />
not run correct.<br />
20. Click on Change Clock Variation. The list with flyer names will appear<br />
and click on the appropriate flyer name. Enter the clock variation and