
You also want an ePaper? Increase the reach of your titles
YUMPU automatically turns print PDFs into web optimized ePapers that Google loves.
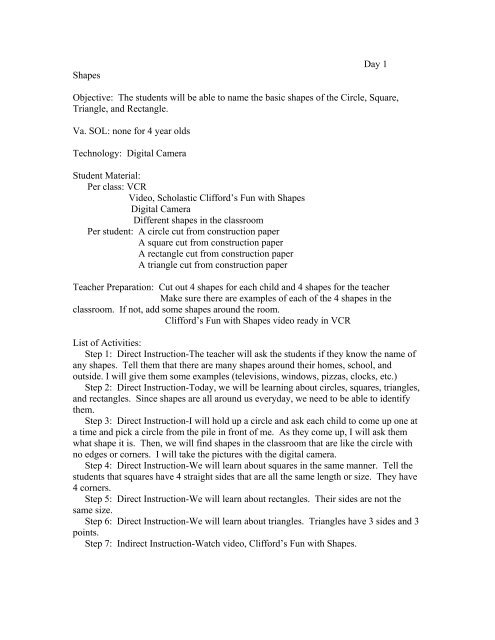
Shapes<br />
Day 1<br />
Objective: The students will be able to name the basic shapes of the Circle, Square,<br />
Triangle, and Rectangle.<br />
Va. SOL: none for 4 year olds<br />
Technology: Digital Camera<br />
Student Material:<br />
Per class: VCR<br />
Video, Scholastic Clifford’s Fun with Shapes<br />
Digital Camera<br />
Different shapes in the classroom<br />
Per student: A circle cut from construction paper<br />
A square cut from construction paper<br />
A rectangle cut from construction paper<br />
A triangle cut from construction paper<br />
Teacher Preparation: Cut out 4 shapes for each child and 4 shapes for the teacher<br />
Make sure there are examples of each of the 4 shapes in the<br />
classroom. If not, add some shapes around the room.<br />
Clifford’s Fun with Shapes video ready in VCR<br />
List of Activities:<br />
Step 1: Direct Instruction-The teacher will ask the students if they know the name of<br />
any shapes. Tell them that there are many shapes around their homes, school, and<br />
outside. I will give them some examples (televisions, windows, pizzas, clocks, etc.)<br />
Step 2: Direct Instruction-Today, we will be learning about circles, squares, triangles,<br />
and rectangles. Since shapes are all around us everyday, we need to be able to identify<br />
them.<br />
Step 3: Direct Instruction-I will hold up a circle and ask each child to come up one at<br />
a time and pick a circle from the pile in front of me. As they come up, I will ask them<br />
what shape it is. Then, we will find shapes in the classroom that are like the circle with<br />
no edges or corners. I will take the pictures with the digital camera.<br />
Step 4: Direct Instruction-We will learn about squares in the same manner. Tell the<br />
students that squares have 4 straight sides that are all the same length or size. They have<br />
4 corners.<br />
Step 5: Direct Instruction-We will learn about rectangles. Their sides are not the<br />
same size.<br />
Step 6: Direct Instruction-We will learn about triangles. Triangles have 3 sides and 3<br />
points.<br />
Step 7: Indirect Instruction-Watch video, Clifford’s Fun with Shapes.
Day 2<br />
Shapes<br />
Objective: The students will be able to reproduce each of the four basic shapes: circle,<br />
square, rectangle, and triangle on to a piece of paper.<br />
Va SOL: none for 4 year olds<br />
Technology: Teacher-made power point of each of the 4 shapes.<br />
Student Material:<br />
Per class: Power point of the 4 shapes and the rhyming verse<br />
Computer<br />
Per student: 4 pieces of paper labeled at top<br />
1. Cynthia Circle is nice and round. No corners on her are ever found.<br />
2. Ricky Rectangle is a funny sort. 2 sides are long and 2 sides are<br />
short.<br />
3. Samuel Square that’s my name. I have 4 sides that are just the same.<br />
4. Tilly Triangle is here to see you. She has 3 sides and 3 points, too!<br />
Teacher Preparation: PowerPoint presentation on shapes<br />
Instruction papers run of for each child<br />
List of Activities:<br />
Step 1: Direct Instruction-The teacher will sit at the computer with one child at a time<br />
and review the shapes as they are shown on the monitor. Also, review the rhyme that<br />
goes with it.<br />
Step 2: Direct Instruction: The child will be given the instruction paper for the circle<br />
and asked to draw it on the paper like it is shown on the monitor. On to the square,<br />
rectangle, and triangle. The children will draw these shapes to the best of their ability.
Day 3<br />
Shapes<br />
Objective: The children will use learning centers to reinforce their recognition of the four<br />
basic shapes of circle, square, rectangle, and triangle.<br />
Va SOL: none for 4 year olds<br />
Technology: Prints from computer (day 1) made into a booklet<br />
Teacher Preparation: The learning centers will be ready for the children when it is time.<br />
Divide the children into groups for centers.<br />
Center 1: Paper plate toss (circles)<br />
Give the children small paper plates. Place a circular laundry basket in the<br />
center of the room. Show the children how to toss their paper plates so that they will sail<br />
through the air. Then let them try tossing their plates into the basket.<br />
Center2: Snack Wheel (rectangles)<br />
Make a snack wheel by placing rectangular crackers, carrot sticks, and<br />
candy bars on a lazy susan. Let the children spin the snack wheel around and choose<br />
snacks to put on their rectangular paper plate. (may use a rectangle cut from construction<br />
paper)<br />
Center 3: Square Prints<br />
Collect a variety of sizes of square sponges. Place tempera paint in<br />
shallow containers. The children will dip the sponges into the paint and press them onto<br />
construction paper that has been cut into square shapes. They will make square prints.<br />
Center 4: Cutting Triangles<br />
Cut triangles out of various kinds of paper. Set out the triangles and<br />
some scissors. Show the children how to cut off the corners of the triangles to make little<br />
triangles. Let them cut as many triangles as they want. Then, they can glue the triangles<br />
that they cut onto a piece of construction paper.<br />
Center 5: All Shapes<br />
The photographs that we took in the classroom will be run off on the<br />
computer and labeled as to what shape it is. It will be made into a booklet for the children<br />
at this center to look at and discuss.
![Three Little Pigs [v6.0].cwk](https://img.yumpu.com/50082322/1/190x245/three-little-pigs-v60cwk.jpg?quality=85)