Fresh Time Cafe KAM100automatic - the Electrolux User Manuals site
Fresh Time Cafe KAM100automatic - the Electrolux User Manuals site
Fresh Time Cafe KAM100automatic - the Electrolux User Manuals site
Create successful ePaper yourself
Turn your PDF publications into a flip-book with our unique Google optimized e-Paper software.
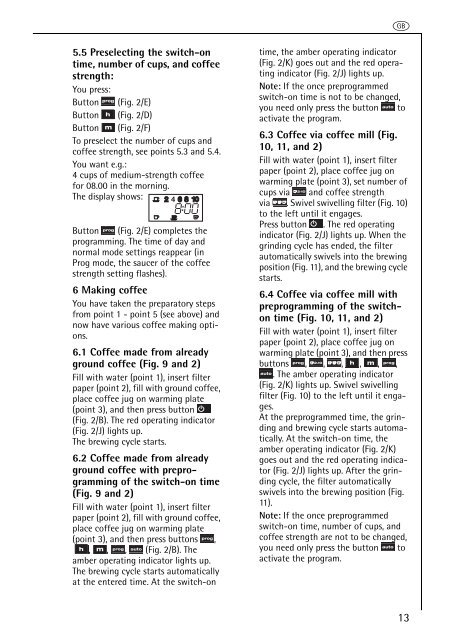
5.5 Preselecting <strong>the</strong> switch-on<br />
time, number of cups, and coffee<br />
strength:<br />
You press:<br />
Button (Fig. 2/E)<br />
Button (Fig. 2/D)<br />
Button (Fig. 2/F)<br />
To preselect <strong>the</strong> number of cups and<br />
coffee strength, see points 5.3 and 5.4.<br />
You want e.g.:<br />
4 cups of medium-strength coffee<br />
for 08.00 in <strong>the</strong> morning.<br />
The display shows:<br />
Button (Fig. 2/E) completes <strong>the</strong><br />
programming. The time of day and<br />
normal mode settings reappear (in<br />
Prog mode, <strong>the</strong> saucer of <strong>the</strong> coffee<br />
strength setting flashes).<br />
6 Making coffee<br />
You have taken <strong>the</strong> preparatory steps<br />
from point 1 - point 5 (see above) and<br />
now have various coffee making options.<br />
6.1 Coffee made from already<br />
ground coffee (Fig. 9 and 2)<br />
Fill with water (point 1), insert filter<br />
paper (point 2), fill with ground coffee,<br />
place coffee jug on warming plate<br />
(point 3), and <strong>the</strong>n press button<br />
(Fig. 2/B). The red operating indicator<br />
(Fig. 2/J) lights up.<br />
The brewing cycle starts.<br />
6.2 Coffee made from already<br />
ground coffee with preprogramming<br />
of <strong>the</strong> switch-on time<br />
(Fig. 9 and 2)<br />
Fill with water (point 1), insert filter<br />
paper (point 2), fill with ground coffee,<br />
place coffee jug on warming plate<br />
(point 3), and <strong>the</strong>n press buttons ,<br />
, , , (Fig. 2/B). The<br />
amber operating indicator lights up.<br />
The brewing cycle starts automatically<br />
at <strong>the</strong> entered time. At <strong>the</strong> switch-on<br />
g<br />
time, <strong>the</strong> amber operating indicator<br />
(Fig. 2/K) goes out and <strong>the</strong> red operating<br />
indicator (Fig. 2/J) lights up.<br />
Note: If <strong>the</strong> once preprogrammed<br />
switch-on time is not to be changed,<br />
you need only press <strong>the</strong> button to<br />
activate <strong>the</strong> program.<br />
6.3 Coffee via coffee mill (Fig.<br />
10, 11, and 2)<br />
Fill with water (point 1), insert filter<br />
paper (point 2), place coffee jug on<br />
warming plate (point 3), set number of<br />
cups via and coffee strength<br />
via . Swivel swivelling filter (Fig. 10)<br />
to <strong>the</strong> left until it engages.<br />
Press button . The red operating<br />
indicator (Fig. 2/J) lights up. When <strong>the</strong><br />
grinding cycle has ended, <strong>the</strong> filter<br />
automatically swivels into <strong>the</strong> brewing<br />
position (Fig. 11), and <strong>the</strong> brewing cycle<br />
starts.<br />
6.4 Coffee via coffee mill with<br />
preprogramming of <strong>the</strong> switchon<br />
time (Fig. 10, 11, and 2)<br />
Fill with water (point 1), insert filter<br />
paper (point 2), place coffee jug on<br />
warming plate (point 3), and <strong>the</strong>n press<br />
buttons , , , , , ,<br />
. The amber operating indicator<br />
(Fig. 2/K) lights up. Swivel swivelling<br />
filter (Fig. 10) to <strong>the</strong> left until it engages.<br />
At <strong>the</strong> preprogrammed time, <strong>the</strong> grinding<br />
and brewing cycle starts automatically.<br />
At <strong>the</strong> switch-on time, <strong>the</strong><br />
amber operating indicator (Fig. 2/K)<br />
goes out and <strong>the</strong> red operating indicator<br />
(Fig. 2/J) lights up. After <strong>the</strong> grinding<br />
cycle, <strong>the</strong> filter automatically<br />
swivels into <strong>the</strong> brewing position (Fig.<br />
11).<br />
Note: If <strong>the</strong> once preprogrammed<br />
switch-on time, number of cups, and<br />
coffee strength are not to be changed,<br />
you need only press <strong>the</strong> button to<br />
activate <strong>the</strong> program.<br />
13


