L-series registration.pdf - NComputing
L-series registration.pdf - NComputing
L-series registration.pdf - NComputing

Create successful ePaper yourself
Turn your PDF publications into a flip-book with our unique Google optimized e-Paper software.
Excerpt from: L230/L130 User Manual<br />
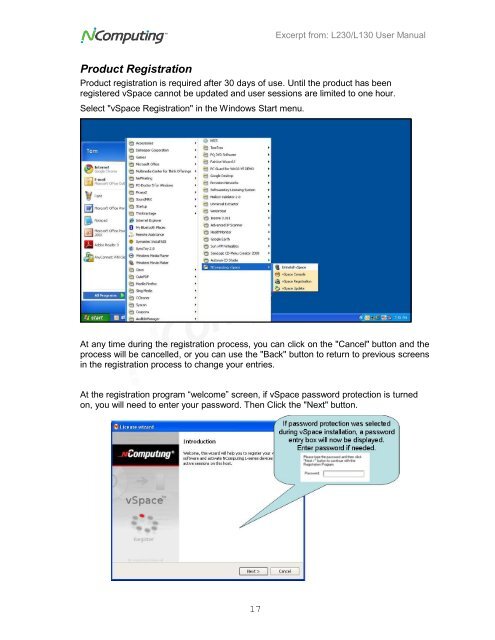
Product Registration<br />
Product <strong>registration</strong> is required after 30 days of use. Until the product has been<br />
registered vSpace cannot be updated and user sessions are limited to one hour.<br />
Select "vSpace Registration" in the Windows Start menu.<br />
At any time during the <strong>registration</strong> process, you can click on the "Cancel" button and the<br />
process will be cancelled, or you can use the "Back" button to return to previous screens<br />
in the <strong>registration</strong> process to change your entries.<br />
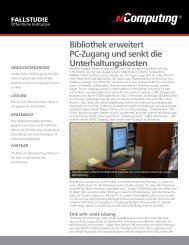
At the <strong>registration</strong> program “welcome” screen, if vSpace password protection is turned<br />
on, you will need to enter your password. Then Click the "Next" button.<br />
17
Excerpt from: L230/L130 User Manual<br />
Next, you are presented with the vSpace End User License Agreement (EULA).<br />
in the “I agree” check box, and then click the “Next” button.<br />
Click<br />
Online Registration<br />
In the case of Online Registration, follow the instructions below. Otherwise skip to the<br />
section titled “Offline Registration”.<br />
If you want to online register your software and L-<strong>series</strong> access devices, leave the<br />
“Register” radio button selected, and click “Next.”<br />
At the "Customer Data" screen, if the data fields are not already populated, enter the<br />
registered user's relevant information. Each field in this window must be filled in. Once<br />
all data has been entered, click on the "Next" button.<br />
18
Excerpt from: L230/L130 User Manual<br />
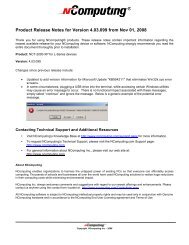
Select the “Register online, using your internet connection” and click “Next.”<br />
The <strong>registration</strong> wizard will then show you a list of all unregistered L-<strong>series</strong> access<br />
devices that are currently connected to this vSpace host. You cannot select which<br />
devices will be registered – all devices shown in this list will be registered.<br />
Before the <strong>registration</strong> wizard communicates with the <strong>registration</strong> server, you will get the<br />
following “Summary” screen showing all user information that will be registered with the<br />
vSpace software. Also, any connected but unregistered L-<strong>series</strong> access devices will be<br />
listed for <strong>registration</strong>. If the data is correct, click on the “Register” button or click “Back”<br />
if you wish to change any of the information.<br />
19
Excerpt from: L230/L130 User Manual<br />
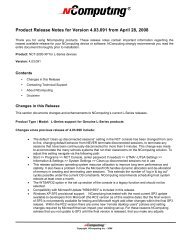
You then get a <strong>registration</strong> progress screen followed by “Registration results.”<br />
When your <strong>registration</strong> is complete, you see the “Registration results” screen. Be sure<br />
to click the check box for the “Register future L-<strong>series</strong> devices in the background” option,<br />
if you want vSpace to automatically register any unregistered L-<strong>series</strong> access devices<br />
that connect to this system in the future. Use of this “background <strong>registration</strong>” feature<br />
requires standard internet connectivity.<br />
20
Excerpt from: L230/L130 User Manual<br />
Offline Registration<br />
In the case of Offline Registration, follow the instructions below. If you have completed<br />
the online <strong>registration</strong> section, skip to “Using the access device”.<br />
If you don’t have standard internet connectivity, you can use standard email to register<br />
your vSpace software and L-<strong>series</strong> access devices.<br />
To use offline <strong>registration</strong>, you again select the “Register” option, and click “Next.”<br />
At the "Customer Data" screen, if the data fields are not already populated, enter the<br />
registered user's relevant information. Each field in this window must be filled in. Once<br />
all data has been entered, click on the "Next" button.<br />
The <strong>registration</strong> wizard will then show you a list of all unregistered L-<strong>series</strong> access<br />
devices that are currently connected to this vSpace host. You cannot select which<br />
devices will be registered – all devices shown in this list will be registered.<br />
21
Excerpt from: L230/L130 User Manual<br />
On the next screen you then select the “Create off line <strong>registration</strong> file” option and click<br />
“Next.”<br />
You’ll need to select the location where you wish to store the <strong>registration</strong> data file that<br />
you’ll later email to <strong>NComputing</strong>. Note that you cannot type directly into the “Create<br />
activation file” field, but you must click on the “Select” button to navigate to the directory<br />
where you wish to store the offline <strong>registration</strong> data file.<br />
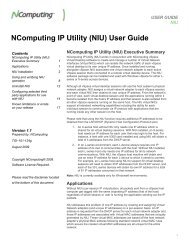
The window below shows the navigation screen that allows you to place the data file in<br />
the desired location. Feel free to change the “File name” to something other than<br />
“activation” – but don’t change the “Save as type” field. The <strong>registration</strong> file must be of<br />
type “txt” – even though the data inside is encrypted and must not be modified.<br />
22
Excerpt from: L230/L130 User Manual<br />
Before the <strong>registration</strong> wizard writes the data file, you will get a “Summary” screen<br />
showing all user information that will be written to the data file. Also, any connected but<br />
unregistered L-<strong>series</strong> access devices will be listed for <strong>registration</strong>.<br />
If the data is correct, click on the “Register” button or click “Back” if you wish to change<br />
any of the information.<br />
Then email the created “txt” file to <strong>registration</strong>@ncomputing.com.<br />
You can copy the “txt” file to another PC, if necessary to send the email.<br />
Add Additional vSpace License<br />
The second option on the “Type of Registration” screen is a feature reserved for future<br />
use in extending vSpace software capabilities by adding additional or optional vSpace<br />
licenses.<br />
23