Operating instructions - INOA cellar conditioners
Operating instructions - INOA cellar conditioners
Operating instructions - INOA cellar conditioners

You also want an ePaper? Increase the reach of your titles
YUMPU automatically turns print PDFs into web optimized ePapers that Google loves.
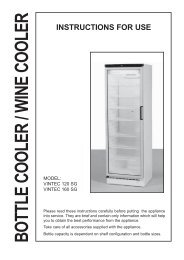
7 - COMMISSIONING YOUR CONDITIONER<br />
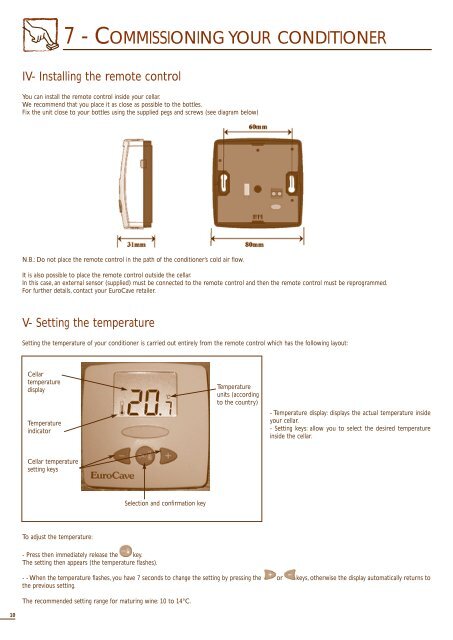
IV- Installing the remote control<br />
You can install the remote control inside your <strong>cellar</strong>.<br />
We recommend that you place it as close as possible to the bottles.<br />
Fix the unit close to your bottles using the supplied pegs and screws (see diagram below)<br />
N.B.: Do not place the remote control in the path of the conditioner’s cold air flow.<br />
It is also possible to place the remote control outside the <strong>cellar</strong>.<br />
In this case, an external sensor (supplied) must be connected to the remote control and then the remote control must be reprogrammed.<br />
For further details, contact your EuroCave retailer.<br />
V- Setting the temperature<br />
Setting the temperature of your conditioner is carried out entirely from the remote control which has the following layout:<br />
Cellar<br />
temperature<br />
display<br />
Temperature<br />
indicator<br />
Temperature<br />
units (according<br />
to the country)<br />
- Temperature display: displays the actual temperature inside<br />
your <strong>cellar</strong>.<br />
- Setting keys: allow you to select the desired temperature<br />
inside the <strong>cellar</strong>.<br />
Cellar temperature<br />
setting keys<br />
Selection and confirmation key<br />
To adjust the temperature:<br />
- Press then immediately release the key.<br />
The setting then appears (the temperature flashes).<br />
- - When the temperature flashes, you have 7 seconds to change the setting by pressing the or keys, otherwise the display automatically returns to<br />
the previous setting.<br />
The recommended setting range for maturing wine: 10 to 14°C.<br />
10