Control 1 Pro User's Guide - JBL Professional
Control 1 Pro User's Guide - JBL Professional
Control 1 Pro User's Guide - JBL Professional

Create successful ePaper yourself
Turn your PDF publications into a flip-book with our unique Google optimized e-Paper software.
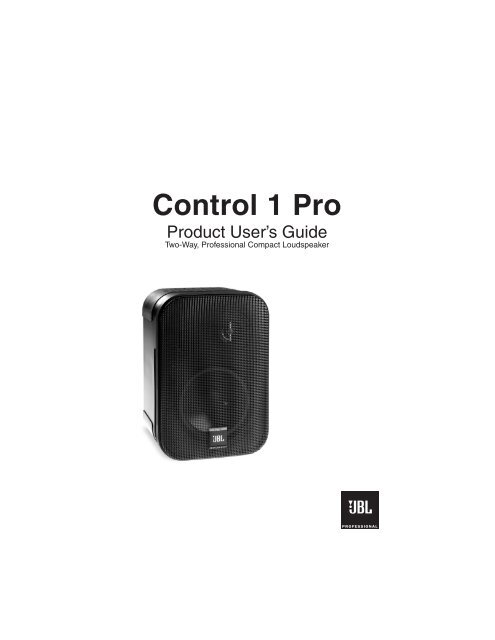
<strong>Control</strong> 1 <strong>Pro</strong><br />
<strong>Pro</strong>duct User’s <strong>Guide</strong><br />
Two-Way, <strong>Pro</strong>fessional Compact Loudspeaker
<strong>Control</strong> 1 <strong>Pro</strong><br />
Key Features<br />
• 150 Watts Continuous Power<br />
Handling<br />
• <strong>Pro</strong>fessional Drivers and<br />
Crossover Network<br />
• Included Mounting Bracket<br />
• Transparent and Faithful<br />
Sonic Performance<br />
• Magnetically Shielded Enclosure<br />
• SonicGuard Overload<br />
<strong>Pro</strong>tection<br />
Your <strong>Control</strong> 1 <strong>Pro</strong> is a compact, highperformance<br />
professional loudspeaker<br />
system that features monitor-grade low<br />
and high frequency drivers coupled with<br />
a professional crossover network. The<br />
rugged and durable molded enclosure is<br />
magnetically shielded making the <strong>Control</strong> 1<br />
<strong>Pro</strong> ideal for use with video and computer<br />
monitors or other magnetically sensitive<br />
equipment. Moreover, the <strong>Control</strong> 1 <strong>Pro</strong>’s<br />
compact design is ideal for audio-visual<br />
applications, computer workstations,<br />
recording and broadcast studios, mobile<br />
audio-video control rooms and foreground<br />
and background music.<br />
Bracket Assembly and Mounting <strong>Guide</strong><br />
8<br />
2<br />
3<br />
9<br />
1 4<br />
7<br />
10<br />
5 6<br />
A) Screw the metal rod/ball assembly (1) into the threaded insert (2) on the back of<br />
the cabinet (8) until it is seated against the bottom of the insert.<br />
B) Next, tighten the “knurled” nut (3) with a small wrench until it is seated against the<br />
back of the cabinet. Tighten the nut until it has “locked” the rod/ball assembly (1)<br />
to the cabinet. Note: the nut may leave marks on the back of the cabinet where<br />
the attachment is made however, the flange of the nut will cover these marks.<br />
2<br />
<strong>Control</strong> 1 <strong>Pro</strong> User’s <strong>Guide</strong>
C) Mount the wall bracket plate (4) onto a flat sturdy surface using the<br />
appropriate mounting hardware for the surface. A safety cable (5) (not<br />
included) may be attached to the wall bracket via its eyelet (6) at one of the<br />
two lower screw mounting points or to a secondary point off the mounting plate.<br />
D) Next, slip the large molded nut (7) over the ball on the metal rod/ball assembly (1).<br />
E) Holding the cabinet (8) with both hands, insert the ball on the metal rod/ball<br />
assembly (1) into the cup of the wall plate (4).<br />
F) Orient the speaker into the desired position and hand tighten the molded nut<br />
(7). Once the orientation is finalized, use the metal bar (9) in one of the holes<br />
on the molded nut (7) to securely tighten.<br />
G) Finally, clip the safety cable to the cabinet’s safety bar (10) on the back of the<br />
cabinet.<br />
Rotating the Logo<br />
The <strong>Control</strong> 1 <strong>Pro</strong>’s logo can be oriented for display at 90° increments. To rotate the<br />
logo, first gently pry the grille and gasket from the cabinet. Next, push-in the logo’s<br />
fastener (found on the underside of the grille) and rotate the logo to the desired<br />
position.<br />
If there is no sound from your speakers:<br />
Troubleshooting<br />
• Make sure your power amplifier is on and the gain is set above its minimum setting.<br />
• Make sure there is a signal to your amplifier from your mixer.<br />
• Ensure all wires are connected and that none are cut or frayed.<br />
• If more than one pair of speakers is being used, check the minimum impedance<br />
requirments of your amplifier (overloading your amplifier can result in damage to<br />
your amp).<br />
If there is no sound from one of your speakers:<br />
• Check the balance control on your mixer.<br />
• Check the channel output gains of your amplifier.<br />
• Ensure all wires are connected and that none are cut or frayed.<br />
If there is no (or weak) bass output or a poor stereo image:<br />
• Make sure the polarities (+ and -) of the speakers inputs are properly connected.<br />
<strong>JBL</strong> <strong>Pro</strong>fessional 3
System:<br />
Specifications<br />
Frequency Range (-10 dB): 80Hz - 20kHz<br />
Frequency Response (+/- 3 dB): 100Hz - 18kHz<br />
Power Capacity 1 :<br />
150 W<br />
Sensitivity 2 :<br />
87dB SPL, 1 W 1m (3.3 ft)<br />
Maximum SPL 3 :<br />
108dB continuous, 114dB peak<br />
Directivity Factor (Q) 2 : 6.0<br />
Directivity Index (DI):<br />
7.8dB<br />
Nominal Impedance:<br />
4 ohms<br />
Crossover Frequency:<br />
4.2kHz<br />
Overload <strong>Pro</strong>tection:<br />
Full-range SonicGuard power limiting to<br />
protect network and transducers<br />
Transducers:<br />
LF Driver:<br />
HF Driver:<br />
Enclosure:<br />
Enclosure Material:<br />
Finish:<br />
Dimensions:<br />
Net Weight (each):<br />
Shipping Weight (pair):<br />
Included Accessories:<br />
135mm (5.25 in) low frequency loudspeaker<br />
19mm (.75 in) polycarbonate dome tweeter<br />
Polypropylene Structural Foam<br />
Black or White<br />
235mm x 159mm x 143mm<br />
(9.25 in x 6.25 in x 5.6 in)<br />
1.8 kg (4 lbs)<br />
4.6 kg (10 lbs)<br />
Mounting Bracket Assembly<br />
1<br />
IEC Standard, full bandwidth pink noise with 6 dB crest factor; 2 hour duration<br />
2<br />
Average 1 kHz to 10 kHz<br />
3<br />
Calculated based on power rating exclusive of power compression<br />
<strong>JBL</strong> continually engages in research related to product improvement. Changes introduced into existing<br />
products without notice are an expression of that philosophy.<br />
P/N 363221-001<br />
0706 REV B<br />
© 2006 <strong>JBL</strong> <strong>Pro</strong>fessional<br />
8500 Balboa Boulevard<br />
Northridge, CA 91329 USA<br />
Visit us online at www.jblpro.com


![2 Use the CATEGORY [DEC] / [INC] but - Pro Music](https://img.yumpu.com/43682164/1/190x245/2-use-the-category-dec-inc-but-pro-music.jpg?quality=85)