the Kitchen Wizz Pro - Breville
the Kitchen Wizz Pro - Breville
the Kitchen Wizz Pro - Breville
You also want an ePaper? Increase the reach of your titles
YUMPU automatically turns print PDFs into web optimized ePapers that Google loves.
BASIC FOOD PROCESSING TECHNIQUES<br />
Slicing, with adjustable<br />
slicing disc<br />
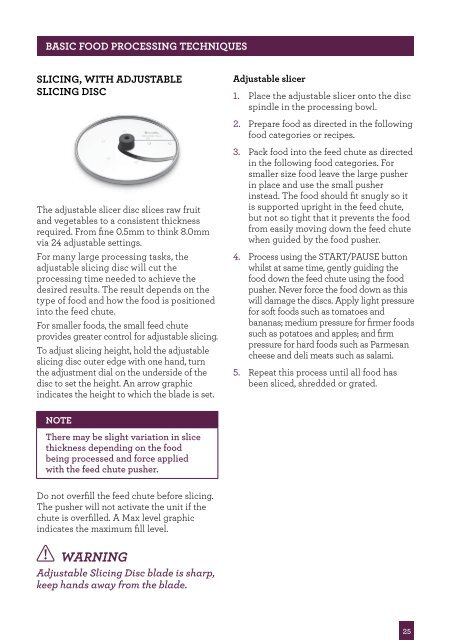
The adjustable slicer disc slices raw fruit<br />
and vegetables to a consistent thickness<br />
required. From fine 0.5mm to think 8.0mm<br />
via 24 adjustable settings.<br />
For many large processing tasks, <strong>the</strong><br />
adjustable slicing disc will cut <strong>the</strong><br />
processing time needed to achieve <strong>the</strong><br />
desired results. The result depends on <strong>the</strong><br />
type of food and how <strong>the</strong> food is positioned<br />
into <strong>the</strong> feed chute.<br />
For smaller foods, <strong>the</strong> small feed chute<br />
provides greater control for adjustable slicing.<br />
To adjust slicing height, hold <strong>the</strong> adjustable<br />
slicing disc outer edge with one hand, turn<br />
<strong>the</strong> adjustment dial on <strong>the</strong> underside of <strong>the</strong><br />
disc to set <strong>the</strong> height. An arrow graphic<br />
indicates <strong>the</strong> height to which <strong>the</strong> blade is set.<br />
Adjustable slicer<br />
1. Place <strong>the</strong> adjustable slicer onto <strong>the</strong> disc<br />
spindle in <strong>the</strong> processing bowl.<br />
2. Prepare food as directed in <strong>the</strong> following<br />
food categories or recipes.<br />
3. Pack food into <strong>the</strong> feed chute as directed<br />
in <strong>the</strong> following food categories. For<br />
smaller size food leave <strong>the</strong> large pusher<br />
in place and use <strong>the</strong> small pusher<br />
instead. The food should fit snugly so it<br />
is supported upright in <strong>the</strong> feed chute,<br />
but not so tight that it prevents <strong>the</strong> food<br />
from easily moving down <strong>the</strong> feed chute<br />
when guided by <strong>the</strong> food pusher.<br />
4. <strong>Pro</strong>cess using <strong>the</strong> START/PAUSE button<br />
whilst at same time, gently guiding <strong>the</strong><br />
food down <strong>the</strong> feed chute using <strong>the</strong> food<br />
pusher. Never force <strong>the</strong> food down as this<br />
will damage <strong>the</strong> discs. Apply light pressure<br />
for soft foods such as tomatoes and<br />
bananas; medium pressure for firmer foods<br />
such as potatoes and apples; and firm<br />
pressure for hard foods such as Parmesan<br />
cheese and deli meats such as salami.<br />
5. Repeat this process until all food has<br />
been sliced, shredded or grated.<br />
NOTE<br />
There may be slight variation in slice<br />
thickness depending on <strong>the</strong> food<br />
being processed and force applied<br />
with <strong>the</strong> feed chute pusher.<br />
Do not overfill <strong>the</strong> feed chute before slicing.<br />
The pusher will not activate <strong>the</strong> unit if <strong>the</strong><br />
chute is overfilled. A Max level graphic<br />
indicates <strong>the</strong> maximum fill level.<br />
WARNING<br />
Adjustable Slicing Disc blade is sharp,<br />
keep hands away from <strong>the</strong> blade.<br />
25


