English - Wright Medical Technology, Inc.
English - Wright Medical Technology, Inc.
English - Wright Medical Technology, Inc.

You also want an ePaper? Increase the reach of your titles
YUMPU automatically turns print PDFs into web optimized ePapers that Google loves.
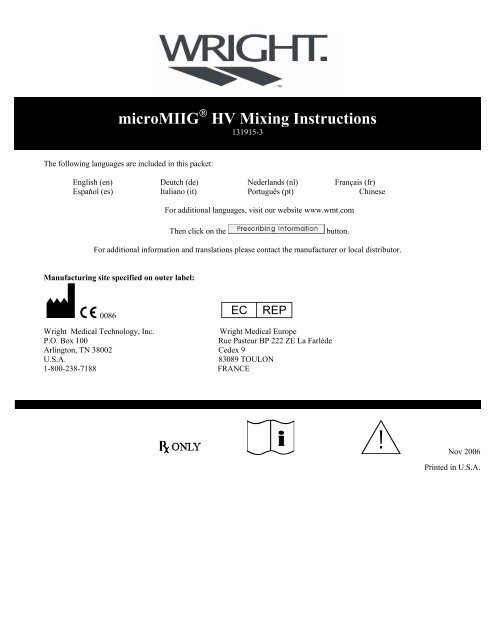
microMIIG ® HV Mixing Instructions<br />
131915-3<br />
The following languages are included in this packet:<br />
<strong>English</strong> (en) Deutch (de) Nederlands (nl) Français (fr)<br />
Espaňol (es) Italiano (it) Português (pt) Chinese<br />
For additional languages, visit our website www.wmt.com<br />
Then click on the<br />
button.<br />
For additional information and translations please contact the manufacturer or local distributor.<br />
Manufacturing site specified on outer label:<br />
M C 0086<br />
P<br />
<strong>Wright</strong> <strong>Medical</strong> Europe<br />
<strong>Wright</strong> <strong>Medical</strong> <strong>Technology</strong>, <strong>Inc</strong>.<br />
P.O. Box 100<br />
Rue Pasteur BP 222 ZE La Farlède<br />
Arlington, TN 38002 Cedex 9<br />
U.S.A.<br />
83089 TOULON<br />
1-800-238-7188 FRANCE<br />
i<br />
Y Nov<br />
2006<br />
Printed in U.S.A.
micro MIIG ® HV<br />
Minimally Invasive Injectable Graft<br />
Mixing Instructions<br />
(131915-3)<br />
IMPORTANT: Do not begin until the grafting site<br />
is prepped and ready for injection.<br />
Step 1<br />
If using needle bender, first remove metal trocar from<br />
needle.<br />
Step 2<br />
□ Use bender to curve needle, allowing for precise<br />
material placement. There are two channels to<br />
enable different degrees of curvature. Insert<br />
needle in the HIGH slot to get more aggressive<br />
curvature or in the LOW slot to achieve a more<br />
gentle curvature.<br />
Step 7<br />
Use the provided spatula to mix the powder and solution together for 1<br />
minute. Twirling the spatula between fingers may aid in the mixing<br />
process.<br />
Step 8<br />
Remove syringe along with cap from<br />
tray (left).<br />
Insert plunger<br />
into the syringe<br />
barrel past first<br />
“catch”.<br />
Gently tap the<br />
syringe in an<br />
inverted<br />
position to<br />
move excess<br />
air to the top of<br />
syringe (right).<br />
Step 3<br />
Remove plunger from syringe, set aside.<br />
Step 4<br />
Attach syringe to pre-placed red syringe cap on<br />
tray.<br />
Step 10<br />
Attach syringe to the needle.<br />
Step 9<br />
Remove the red syringe cap.<br />
□ Before connecting to<br />
delivery needle, advance<br />
plunger until there is 4cc of<br />
material remaining in the<br />
syringe.<br />
<br />
<br />
Inject paste into the defect site.<br />
Avoid overfilling the bone void or pressurizing the treatment site.<br />
NOTE: MIIG ® Injectable Graft will set in approximately 22-30 minutes in situ.<br />
Residual material may be left in syringe. The amount of remaining material<br />
may be due to defect size and material usage.<br />
Step 5<br />
Insert the supplied funnel into<br />
syringe.<br />
Pour diluent into the syringe.<br />
NOTE: Perform Steps 6-10 within 5 minutes.<br />
Step 6<br />
<br />
<br />
With the funnel in place, carefully pour all powder into<br />
the syringe.<br />
Remove funnel.