


You also want an ePaper? Increase the reach of your titles
YUMPU automatically turns print PDFs into web optimized ePapers that Google loves.
SHOOT IN SLOW MOTION<br />
Tutorial<br />
RECORDING TIPS<br />
Be prepared<br />
Make you have good lighting and a steady mount<br />
for your camera module. Also, charge your portable<br />
power options if you’re shooting outside. Finally, don’t<br />
forget to use an SD card with enough storage space.<br />
What to shoot<br />
How about shooting a remote-controlled car skidding<br />
round a corner? Perhaps a ball being thrown or other<br />
sports? What about an animation drawn on a notepad<br />
slowed right down?<br />
>STEP-04<br />
Test the camera<br />
Let’s make sure everything’s working as it should<br />
by testing the camera with a couple of terminal<br />
commands. With a screen connected, open a terminal<br />
window and type raspistill -o test.jpg. The<br />
picture should appear on the screen for a short time<br />
and an image should be saved to your Home directory.<br />
If it doesn’t work, check you typed the command<br />
correctly, or turn off your Pi and reconnect the camera<br />
ribbon cable before trying again.<br />
Slowmotion.py<br />
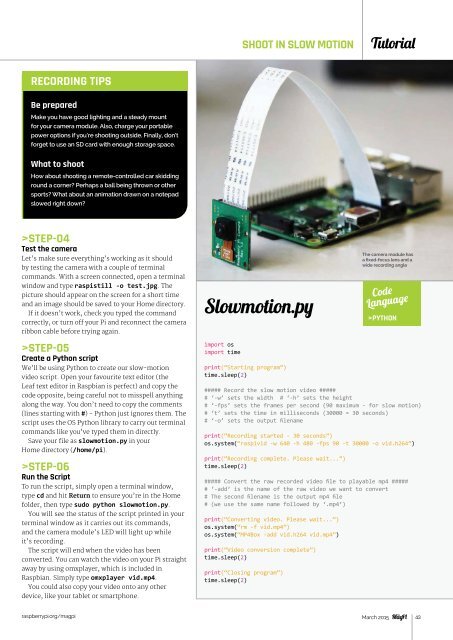
The camera module has<br />
a fixed-focus lens and a<br />
wide recording angle<br />
Code<br />
Language<br />
>PYTHON<br />
>STEP-05<br />
Create a Python script<br />
We’ll be using Python to create our slow-motion<br />
video script. Open your favourite text editor (the<br />
Leaf text editor in Raspbian is perfect) and copy the<br />
code opposite, being careful not to misspell anything<br />
along the way. You don’t need to copy the comments<br />
(lines starting with #) - Python just ignores them. The<br />
script uses the OS Python library to carry out terminal<br />
commands like you’ve typed them in directly.<br />
Save your file as slowmotion.py in your<br />
Home directory (/home/pi).<br />
>STEP-06<br />
Run the Script<br />
To run the script, simply open a terminal window,<br />
type cd and hit Return to ensure you’re in the Home<br />
folder, then type sudo python slowmotion.py.<br />
You will see the status of the script printed in your<br />
terminal window as it carries out its commands,<br />
and the camera module’s LED will light up while<br />
it’s recording.<br />
The script will end when the video has been<br />
converted. You can watch the video on your Pi straight<br />
away by using omxplayer, which is included in<br />
Raspbian. Simply type omxplayer vid.mp4.<br />
You could also copy your video onto any other<br />
device, like your tablet or smartphone.<br />
import os<br />
import time<br />
print(“Starting program”)<br />
time.sleep(2)<br />
##### Record the slow motion video #####<br />
# ‘-w’ sets the width # ‘-h’ sets the height<br />
# ‘-fps’ sets the frames per second (90 maximum - for slow motion)<br />
# ‘t’ sets the time in milliseconds (30000 = 30 seconds)<br />
# ‘-o’ sets the output filename<br />
print(“Recording started - 30 seconds”)<br />
os.system(“raspivid -w 640 -h 480 -fps 90 -t 30000 -o vid.h264”)<br />
print(“Recording complete. Please wait...”)<br />
time.sleep(2)<br />
##### Convert the raw recorded video file to playable mp4 #####<br />
# ‘-add’ is the name of the raw video we want to convert<br />
# The second filename is the output mp4 file<br />
# (we use the same name followed by ‘.mp4’)<br />
print(“Converting video. Please wait...”)<br />
os.system(“rm -f vid.mp4”)<br />
os.system(“MP4Box -add vid.h264 vid.mp4”)<br />
print(“Video conversion complete”)<br />
time.sleep(2)<br />
print(“Closing program”)<br />
time.sleep(2)<br />
raspberrypi.org/magpi March 2015 43