VDV MultiMedia Cable Tester - Ideal Industries Inc.
VDV MultiMedia Cable Tester - Ideal Industries Inc.
VDV MultiMedia Cable Tester - Ideal Industries Inc.

You also want an ePaper? Increase the reach of your titles
YUMPU automatically turns print PDFs into web optimized ePapers that Google loves.
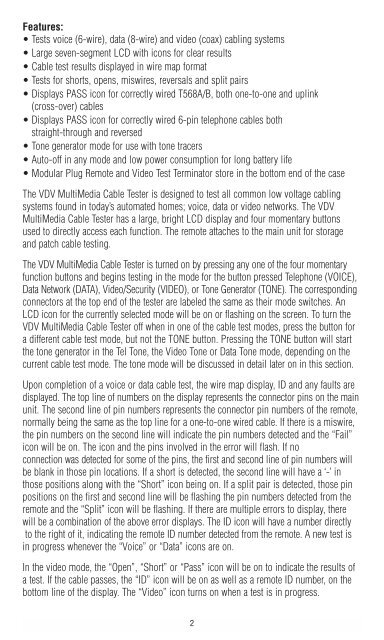
Features:<br />
• Tests voice (6-wire), data (8-wire) and video (coax) cabling systems<br />
• Large seven-segment LCD with icons for clear results<br />
• <strong>Cable</strong> test results displayed in wire map format<br />
• Tests for shorts, opens, miswires, reversals and split pairs<br />
• Displays PASS icon for correctly wired T568A/B, both one-to-one and uplink<br />
(cross-over) cables<br />
• Displays PASS icon for correctly wired 6-pin telephone cables both<br />
straight-through and reversed<br />
• Tone generator mode for use with tone tracers<br />
• Auto-off in any mode and low power consumption for long battery life<br />
• Modular Plug Remote and Video Test Terminator store in the bottom end of the case<br />
The <strong>VDV</strong> <strong>MultiMedia</strong> <strong>Cable</strong> <strong>Tester</strong> is designed to test all common low voltage cabling<br />
systems found in today’s automated homes; voice, data or video networks. The <strong>VDV</strong><br />
<strong>MultiMedia</strong> <strong>Cable</strong> <strong>Tester</strong> has a large, bright LCD display and four momentary buttons<br />
used to directly access each function. The remote attaches to the main unit for storage<br />
and patch cable testing.<br />
The <strong>VDV</strong> <strong>MultiMedia</strong> <strong>Cable</strong> <strong>Tester</strong> is turned on by pressing any one of the four momentary<br />
function buttons and begins testing in the mode for the button pressed Telephone (VOICE),<br />
Data Network (DATA), Video/Security (VIDEO), or Tone Generator (TONE). The corresponding<br />
connectors at the top end of the tester are labeled the same as their mode switches. An<br />
LCD icon for the currently selected mode will be on or flashing on the screen. To turn the<br />
<strong>VDV</strong> <strong>MultiMedia</strong> <strong>Cable</strong> <strong>Tester</strong> off when in one of the cable test modes, press the button for<br />
a different cable test mode, but not the TONE button. Pressing the TONE button will start<br />
the tone generator in the Tel Tone, the Video Tone or Data Tone mode, depending on the<br />
current cable test mode. The tone mode will be discussed in detail later on in this section.<br />
Upon completion of a voice or data cable test, the wire map display, ID and any faults are<br />
displayed. The top line of numbers on the display represents the connector pins on the main<br />
unit. The second line of pin numbers represents the connector pin numbers of the remote,<br />
normally being the same as the top line for a one-to-one wired cable. If there is a miswire,<br />
the pin numbers on the second line will indicate the pin numbers detected and the “Fail”<br />
icon will be on. The icon and the pins involved in the error will flash. If no<br />
connection was detected for some of the pins, the first and second line of pin numbers will<br />
be blank in those pin locations. If a short is detected, the second line will have a ‘-’ in<br />
those positions along with the “Short” icon being on. If a split pair is detected, those pin<br />
positions on the first and second line will be flashing the pin numbers detected from the<br />
remote and the “Split” icon will be flashing. If there are multiple errors to display, there<br />
will be a combination of the above error displays. The ID icon will have a number directly<br />
to the right of it, indicating the remote ID number detected from the remote. A new test is<br />
in progress whenever the “Voice” or “Data” icons are on.<br />
In the video mode, the “Open”, “Short” or “Pass” icon will be on to indicate the results of<br />
a test. If the cable passes, the “ID” icon will be on as well as a remote ID number, on the<br />
bottom line of the display. The “Video” icon turns on when a test is in progress.<br />
2