Nissan/Infiniti - Intraphex
Nissan/Infiniti - Intraphex
Nissan/Infiniti - Intraphex

You also want an ePaper? Increase the reach of your titles
YUMPU automatically turns print PDFs into web optimized ePapers that Google loves.
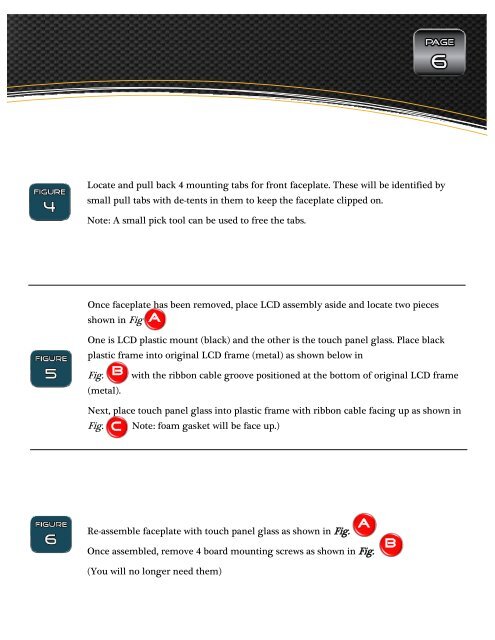
Locate and pull back 4 mounting tabs for front faceplate. These will be identified by<br />
small pull tabs with de-tents in them to keep the faceplate clipped on.<br />
Note: A small pick tool can be used to free the tabs.<br />
Once faceplate has been removed, place LCD assembly aside and locate two pieces<br />
shown in Fig<br />
One is LCD plastic mount (black) and the other is the touch panel glass. Place black<br />
plastic frame into original LCD frame (metal) as shown below in<br />
Fig.<br />
with the ribbon cable groove positioned at the bottom of original LCD frame<br />
(metal).<br />
Next, place touch panel glass into plastic frame with ribbon cable facing up as shown in<br />
Fig.<br />
B<br />
C<br />
A<br />
( Note: foam gasket will be face up.)<br />
Re-assemble faceplate with touch panel glass as shown in Fig.<br />
Once assembled, remove 4 board mounting screws as shown in Fig.<br />
A<br />
b<br />
(You will no longer need them)