SY250F Chassis - Scorpa
SY250F Chassis - Scorpa
SY250F Chassis - Scorpa
Create successful ePaper yourself
Turn your PDF publications into a flip-book with our unique Google optimized e-Paper software.
Manuel de l’<br />
<strong>Chassis</strong><br />
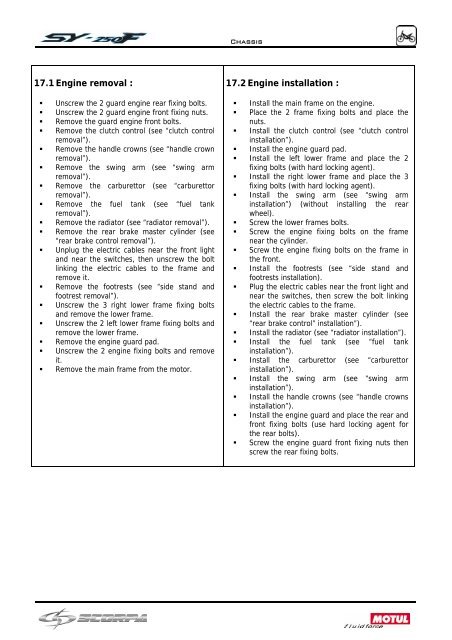
17.1 Engine removal : 17.2 Engine installation :<br />
• Unscrew the 2 guard engine rear fixing bolts. • Install the main frame on the engine.<br />
• Unscrew the 2 guard engine front fixing nuts. • Place the 2 frame fixing bolts and place the<br />
• Remove the guard engine front bolts.<br />
nuts.<br />
• Remove the clutch control (see “clutch control<br />
removal”).<br />
• Install the clutch control (see “clutch control<br />
installation”).<br />
• Remove the handle crowns (see “handle crown • Install the engine guard pad.<br />
•<br />
removal”).<br />
Remove the swing arm (see “swing arm<br />
• Install the left lower frame and place the 2<br />
fixing bolts (with hard locking agent).<br />
removal”). • Install the right lower frame and place the 3<br />
• Remove the carburettor (see “carburettor fixing bolts (with hard locking agent).<br />
removal”). • Install the swing arm (see “swing arm<br />
• Remove the fuel tank (see “fuel tank installation”) (without installing the rear<br />
removal”).<br />
wheel).<br />
• Remove the radiator (see “radiator removal”). • Screw the lower frames bolts.<br />
• Remove the rear brake master cylinder (see<br />
“rear brake control removal”).<br />
• Screw the engine fixing bolts on the frame<br />
near the cylinder.<br />
• Unplug the electric cables near the front light<br />
and near the switches, then unscrew the bolt<br />
• Screw the engine fixing bolts on the frame in<br />
the front.<br />
linking the electric cables to the frame and<br />
remove it.<br />
• Install the footrests (see “side stand and<br />
footrests installation).<br />
•<br />
•<br />
Remove the footrests (see “side stand and<br />
footrest removal”).<br />
Unscrew the 3 right lower frame fixing bolts<br />
• Plug the electric cables near the front light and<br />
near the switches, then screw the bolt linking<br />
the electric cables to the frame.<br />
and remove the lower frame. • Install the rear brake master cylinder (see<br />
• Unscrew the 2 left lower frame fixing bolts and “rear brake control” installation”).<br />
remove the lower frame. • Install the radiator (see “radiator installation”).<br />
• Remove the engine guard pad. • Install the fuel tank (see “fuel tank<br />
• Unscrew the 2 engine fixing bolts and remove installation”).<br />
it. • Install the carburettor (see “carburettor<br />
• Remove the main frame from the motor.<br />
installation”).<br />
• Install the swing arm (see “swing arm<br />
installation”).<br />
• Install the handle crowns (see “handle crowns<br />
installation”).<br />
• Install the engine guard and place the rear and<br />
front fixing bolts (use hard locking agent for<br />
the rear bolts).<br />
• Screw the engine guard front fixing nuts then<br />
screw the rear fixing bolts.<br />
25


