
Create successful ePaper yourself
Turn your PDF publications into a flip-book with our unique Google optimized e-Paper software.
18<br />
Main Menu Guide<br />
• EPG Recording<br />
This function enables you to use the EPG time information to book a recording.<br />
Press the EPG button.<br />
Use the CH UP and CH DOWN buttons and the LEFT / RIGHT buttons to select the time and the<br />
channel.<br />
Press the TIMER button. The selected recording is added to the Timer List.<br />
8. Main Menu Guide<br />
8.1 General Settings<br />
Refer to Section 5.2 on General Settings for details.<br />
8.2 Favourite List Manager<br />
Refer to Section 7.2 on Favourite List Manager for<br />
details.<br />
8.3 Channel Manager<br />
Refer to Section 7.1 on Channel Search for details<br />
on Auto Search, and <strong>Manual</strong> Search.<br />
We will take a look at other functions.<br />
Reinstallation<br />
Use this to restore all settings to their default values.<br />
Press the MENU button on the remote control.<br />
Select Channel Manager .<br />
Select Reinstallation .<br />
When the Input Password message appears, enter the password.<br />
The settings (such as channel information and language) on the Receiver will be restored to their<br />
defaults. However, the Receiver cannot revert to its default state if the password has been changed.<br />
When you perform Reinstallation of the Receiver, the Receiver will be initialized in one of two ways. The<br />
difference is determined by the Receiver model type .<br />
• Settings will be restored to their factory default settings and channel information programmed at the<br />
factory will remain unchanged.<br />
• Settings will be restored to their factory default settings and channel information programmed at the<br />
factory will also be deleted.<br />
Parental Lock Manager<br />
Delete All Channels<br />
Use this if necessary to delete all your channels . If you use this, channels only will be deleted without<br />
affecting your existing settings .<br />
Press the MENU button on the remote control.<br />
Select Channel Manager .<br />
Select Delete All Channels .<br />
When the Input Password message appears, enter the password.<br />
When the message asking you to confirm the delete operation appears, press the OK button.<br />
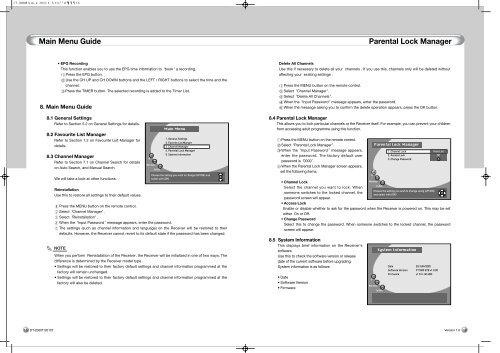
8.4 Parental Lock Manager<br />
This allows you to lock particular channels or the Receiver itself. For example, you can prevent your children<br />
from accessing adult programme using this function.<br />
Press the MENU button on the remote control.<br />
Select Parental Lock Manager .<br />
When the Input Password message appears,<br />
enter the password. The factory default user<br />
password is 0000 .<br />
When the Parental Lock Manager screen appears,<br />
set the following items.<br />
• Channel Lock<br />
Select the channel you want to lock. When<br />
someone switches to the locked channel, the<br />
password screen will appear.<br />
• Access Lock<br />
Enable or disable whether to ask for the password when the Receiver is powered on. This may be set<br />
either On or Off.<br />
• Change Password<br />
Select this to change the password. When someone switches to the locked channel, the password<br />
screen will appear.<br />
8.5 System Information<br />
This displays brief information on the Receiver’s<br />
software.<br />
Use this to check the software version or release<br />
date of the current software before upgrading<br />
System information is as follows:<br />
• Date<br />
• Software Version<br />
• Firmware<br />
19