IRWIN® Rafter Square Reference Guide Complete Instruction Book ...
IRWIN® Rafter Square Reference Guide Complete Instruction Book ...
IRWIN® Rafter Square Reference Guide Complete Instruction Book ...

You also want an ePaper? Increase the reach of your titles
YUMPU automatically turns print PDFs into web optimized ePapers that Google loves.
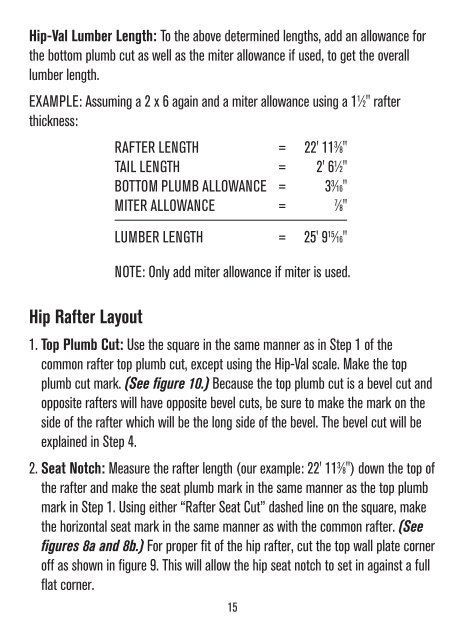
Hip-Val Lumber Length: To the above determined lengths, add an allowance forthe bottom plumb cut as well as the miter allowance if used, to get the overalllumber length.EXAMPLE: Assuming a 2 x 6 again and a miter allowance using a 1 1 ⁄2" rafterthickness:RAFTER LENGTH = 22' 11 3 ⁄8"TAIL LENGTH = 2' 6 1 ⁄2"BOTTOM PLUMB ALLOWANCE = 3 3 ⁄16"MITER ALLOWANCE = 7⁄8"LUMBER LENGTH = 25' 9 15 ⁄16"NOTE: Only add miter allowance if miter is used.Hip <strong>Rafter</strong> Layout1. Top Plumb Cut: Use the square in the same manner as in Step 1 of thecommon rafter top plumb cut, except using the Hip-Val scale. Make the topplumb cut mark. (See figure 10.) Because the top plumb cut is a bevel cut andopposite rafters will have opposite bevel cuts, be sure to make the mark on theside of the rafter which will be the long side of the bevel. The bevel cut will beexplained in Step 4.2. Seat Notch: Measure the rafter length (our example: 22' 11 3 ⁄8") down the top ofthe rafter and make the seat plumb mark in the same manner as the top plumbmark in Step 1. Using either “<strong>Rafter</strong> Seat Cut” dashed line on the square, makethe horizontal seat mark in the same manner as with the common rafter. (Seefigures 8a and 8b.) For proper fit of the hip rafter, cut the top wall plate corneroff as shown in figure 9. This will allow the hip seat notch to set in against a fullflat corner.15