Installation Instructions for FTS4130-1 - 4 Wheel Online
Installation Instructions for FTS4130-1 - 4 Wheel Online
Installation Instructions for FTS4130-1 - 4 Wheel Online
Create successful ePaper yourself
Turn your PDF publications into a flip-book with our unique Google optimized e-Paper software.
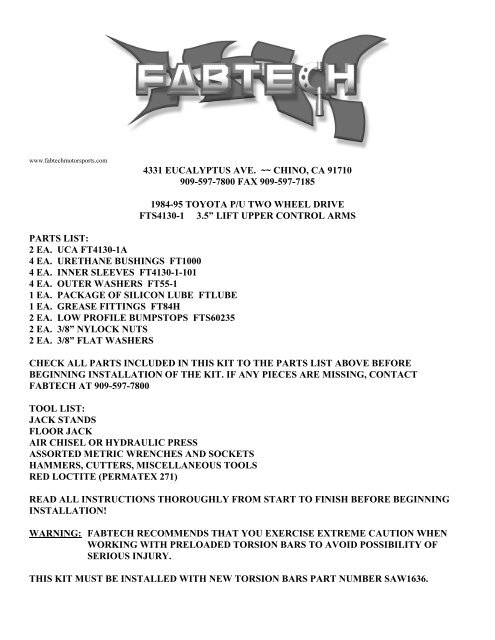
www.fabtechmotorsports.com4331 EUCALYPTUS AVE. ~~ CHINO, CA 91710909-597-7800 FAX 909-597-7185PARTS LIST:2 EA. UCA FT4130-1A4 EA. URETHANE BUSHINGS FT10004 EA. INNER SLEEVES FT4130-1-1014 EA. OUTER WASHERS FT55-11 EA. PACKAGE OF SILICON LUBE FTLUBE1 EA. GREASE FITTINGS FT84H2 EA. LOW PROFILE BUMPSTOPS FTS602352 EA. 3/8” NYLOCK NUTS2 EA. 3/8” FLAT WASHERS1984-95 TOYOTA P/U TWO WHEEL DRIVE<strong>FTS4130</strong>-1 3.5” LIFT UPPER CONTROL ARMSCHECK ALL PARTS INCLUDED IN THIS KIT TO THE PARTS LIST ABOVE BEFOREBEGINNING INSTALLATION OF THE KIT. IF ANY PIECES ARE MISSING, CONTACTFABTECH AT 909-597-7800TOOL LIST:JACK STANDSFLOOR JACKAIR CHISEL OR HYDRAULIC PRESSASSORTED METRIC WRENCHES AND SOCKETSHAMMERS, CUTTERS, MISCELLANEOUS TOOLSRED LOCTITE (PERMATEX 271)READ ALL INSTRUCTIONS THOROUGHLY FROM START TO FINISH BEFORE BEGINNINGINSTALLATION!WARNING: FABTECH RECOMMENDS THAT YOU EXERCISE EXTREME CAUTION WHENWORKING WITH PRELOADED TORSION BARS TO AVOID POSSIBILITY OFSERIOUS INJURY.THIS KIT MUST BE INSTALLED WITH NEW TORSION BARS PART NUMBER SAW1636.
VEHICLES THAT WILL RECEIVE OVERSIZED TIRES SHOULD CHECK BALL JOINTS, TIERODS ENDS AND IDLER ARM EVERY 2500-5000 MILES FOR WEAR AND REPLACE ASNEEDED.INSTRUCTIONS1. Disconnect the negative terminal on the battery. Jack up the front end of the truck and support the frame rails withjack stands. NEVER WORK UNDER AN UNSUPPORTED VEHICLE!2. Remove the front tires. Also remove the front shocks.3. Remove the jam nuts off the top of the torsion bar adjuster bolts (located on top of the middle crossmember, under the cab of the truck.) Grease the threads on the torsion bar adjuster bolts and slowly loosenthe bolts, holding the nut on top of the cross member. IF THE BOLT LOCKS UP OR SEEMEXCESSIVELY TIGHT, STOP AND CONTACT FABTECH FOR ADVISE. USE EXTREMECAUTION, THESE BOLTS ARE UNDER VERY HIGH LOADS!4. After you have removed the right and left torsion adjuster bolts, now slide the torsion bars back and removethem from the truck. Remove the sway bar end links from the lower control arms (LCA) as well as themounts holding the sway bar to the frame. Remove the sway bar from the truck and discard. THE SWAYBAR MUST BE REMOVED FROM THE TRUCK WHEN USING FABTECH LIFT A ARMS TOPREVENT INTERFERENCE WITH THE BRAKE CALIPERS.5. Starting on the passenger side (right), support the lower control arm (LCA) with a jack. Remove the fourbolts holding the upper ball joint to the upper control arm (UCA). Also, remove the two bolts holding theUCA cross shaft to the frame. Repeat this step on the driver side (left) of the truck.6. Secure the cross shaft of the UCA in a vise and remove the two bolts on the ends of the cross shaft. Usingeither an air chisel or a press, remove a bushing out of one side of the UCA and remove the cross shaft fromthe UCA.7. Support the cross shaft in a vise. Using the supplied silicon lube, lubricate one bushing and one innersleeve. Slide the inner sleeve onto the cross shaft, then the bushing (with the lip facing outward), followedby the outer washer as shown in figure 1. Apply loctite to the threads of the cross shaft and torque the endbolt to factory specifications. Thread a grease fitting into each bushing end of the UCA.8. Take a FABTECH lift a arm and press the cross shaft onto it. Lubricating all parts, slide one inner sleeve,one bushing and one outer washer onto the cross shaft. Apply a small amount of loctite to the threads of thecross shaft and torque the bolt to factory specifications. Repeat this step with the other a arm and crossshaft.9. Take one of the completed a arms and attach the cross shaft back onto the frame using the factory bolts(apply loctite to the threads of the two bolts.) Do not reinstall any alignment shims. There is no right or lefta arm but, the tube gussets on the a arms, near the bushings, should be on top. Install the supplied lowprofile bumpstop in the rear upper bumpstop mount using the 3/8” flat washer and nylock nut. Reattach theupper ball joint to the UCA using the factory bolts, be sure to apply loctite to the threads of the bolts.Repeat this step on the other side of the truck.10. Using an air chisel remove the two stamped nuts (lower shock mount) off the top of the LCA. Now installthe new shocks on top of the LCA using new 5/16” x 1” bolts, nuts and washers. Repeat this step on theother side of the truck.
11. Reinstall the front tires and torque all the lugs to factory specifications. Install the new torsion barsaccording to the manufactures instructions. Roughly torque down the torsion bar bolts, leaving the jam nutsloose. Set the truck back onto the ground and bounce on the front end to settle the torsion bars. Werecommend you set the torsion bars so that there is a 1/8” to 3/16” space between the upper bumpstop andthe UCA tube. WHEN MAKING ADJUSTMENTS ON THE TORSION BARS, JACK UP THEFRONT END OF THE TRUCK TO UNLOAD THE TORSIONS. FAILURE TO FOLLOW THESEINSTRUCTIONS CAN RESULT IN SEIZED OR BROKEN TORSION BAR BOLTS!12. Set the toe in to approximate factory specifications. Drive the truck about 2-3 miles and recheck the rideheight, also make sure the truck is even side to side. When all adjustments are completed, tighten the jamnuts on the torsion bar bolts. We recommend you drive the vehicle <strong>for</strong> fifty miles and then have the vehiclealigned to factory specifications. Re-adjust headlightsFIGURE 1RETORQUE ALL NUTS, BOLTS AND LUGS AFTER 50 MILES AND PERIODICALLY THEREAFTER.For technical assistance call: 909-597-7800Product Warranty and Warnings-Fabtech provides a Limited Lifetime Warranty to the original retail purchaser who owns the vehicle, on which the product was originally installed,<strong>for</strong> defects in workmanship and materials.


