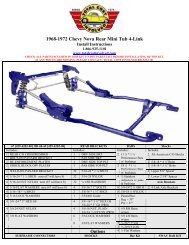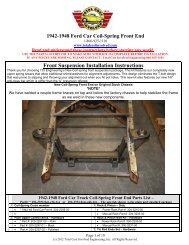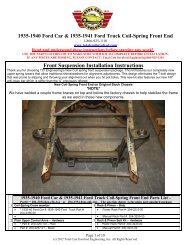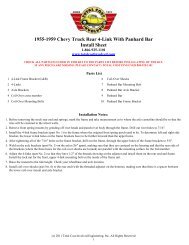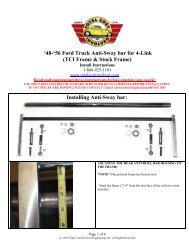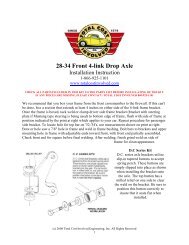
Rear Coil-Over 4-Link w/Panhard Bar - Total Cost Involved
Rear Coil-Over 4-Link w/Panhard Bar - Total Cost Involved
Rear Coil-Over 4-Link w/Panhard Bar - Total Cost Involved

Create successful ePaper yourself
Turn your PDF publications into a flip-book with our unique Google optimized e-Paper software.
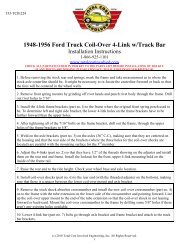
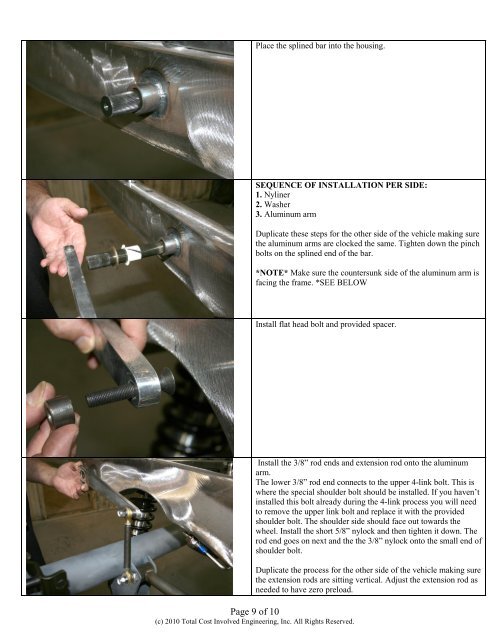
Place the splined bar into the housing.SEQUENCE OF INSTALLATION PER SIDE:1. Nyliner2. Washer3. Aluminum armDuplicate these steps for the other side of the vehicle making surethe aluminum arms are clocked the same. Tighten down the pinchbolts on the splined end of the bar.*NOTE* Make sure the countersunk side of the aluminum arm isfacing the frame. *SEE BELOWInstall flat head bolt and provided spacer.Install the 3/8” rod ends and extension rod onto the aluminumarm.The lower 3/8” rod end connects to the upper 4-link bolt. This iswhere the special shoulder bolt should be installed. If you haven’tinstalled this bolt already during the 4-link process you will needto remove the upper link bolt and replace it with the providedshoulder bolt. The shoulder side should face out towards thewheel. Install the short 5/8” nylock and then tighten it down. Therod end goes on next and the the 3/8” nylock onto the small end ofshoulder bolt.Duplicate the process for the other side of the vehicle making surethe extension rods are sitting vertical. Adjust the extension rod asneeded to have zero preload.Page 9 of 10(c) 2010 <strong>Total</strong> <strong>Cost</strong> <strong>Involved</strong> Engineering, Inc. All Rights Reserved.