Protege DIN Rail 16 Zone Input Expander
Protege DIN Rail 16 Zone Input Expander
Protege DIN Rail 16 Zone Input Expander

Create successful ePaper yourself
Turn your PDF publications into a flip-book with our unique Google optimized e-Paper software.
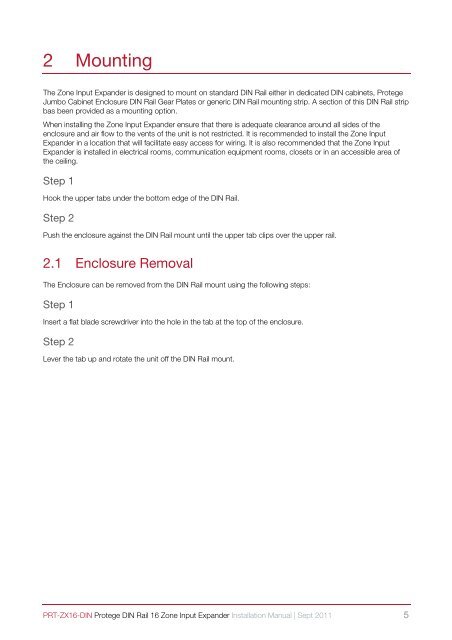
2 MountingThe <strong>Zone</strong> <strong>Input</strong> <strong>Expander</strong> is designed to mount on standard <strong>DIN</strong> <strong>Rail</strong> either in dedicated <strong>DIN</strong> cabinets, <strong>Protege</strong>Jumbo Cabinet Enclosure <strong>DIN</strong> <strong>Rail</strong> Gear Plates or generic <strong>DIN</strong> <strong>Rail</strong> mounting strip. A section of this <strong>DIN</strong> <strong>Rail</strong> stripbas been provided as a mounting option.When installing the <strong>Zone</strong> <strong>Input</strong> <strong>Expander</strong> ensure that there is adequate clearance around all sides of theenclosure and air flow to the vents of the unit is not restricted. It is recommended to install the <strong>Zone</strong> <strong>Input</strong><strong>Expander</strong> in a location that will facilitate easy access for wiring. It is also recommended that the <strong>Zone</strong> <strong>Input</strong><strong>Expander</strong> is installed in electrical rooms, communication equipment rooms, closets or in an accessible area ofthe ceiling.Step 1Hook the upper tabs under the bottom edge of the <strong>DIN</strong> <strong>Rail</strong>.Step 2Push the enclosure against the <strong>DIN</strong> <strong>Rail</strong> mount until the upper tab clips over the upper rail.2.1 Enclosure RemovalThe Enclosure can be removed from the <strong>DIN</strong> <strong>Rail</strong> mount using the following steps:Step 1Insert a flat blade screwdriver into the hole in the tab at the top of the enclosure.Step 2Lever the tab up and rotate the unit off the <strong>DIN</strong> <strong>Rail</strong> mount.PRT-ZX<strong>16</strong>-<strong>DIN</strong> <strong>Protege</strong> <strong>DIN</strong> <strong>Rail</strong> <strong>16</strong> <strong>Zone</strong> <strong>Input</strong> <strong>Expander</strong> Installation Manual | Sept 2011 5