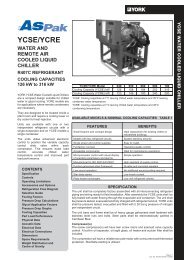
Outdoor Unit
Outdoor Unit
Outdoor Unit

Create successful ePaper yourself
Turn your PDF publications into a flip-book with our unique Google optimized e-Paper software.
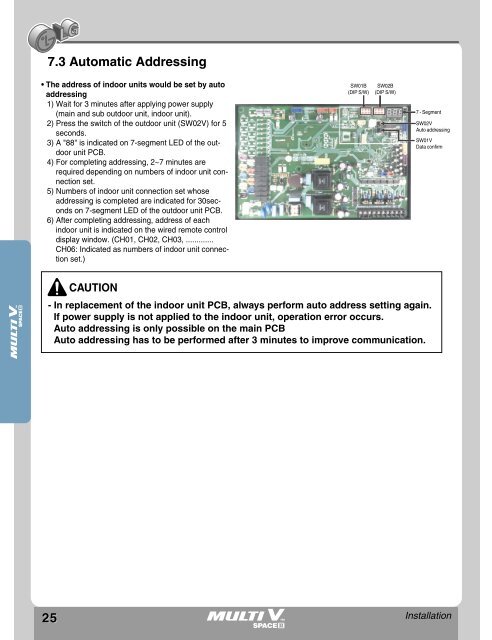
7.3 Automatic Addressing• The address of indoor units would be set by autoaddressing1) Wait for 3 minutes after applying power supply(main and sub outdoor unit, indoor unit).2) Press the switch of the outdoor unit (SW02V) for 5seconds.3) A "88" is indicated on 7-segment LED of the outdoorunit PCB.4) For completing addressing, 2~7 minutes arerequired depending on numbers of indoor unit connectionset.5) Numbers of indoor unit connection set whoseaddressing is completed are indicated for 30secondson 7-segment LED of the outdoor unit PCB.6) After completing addressing, address of eachindoor unit is indicated on the wired remote controldisplay window. (CH01, CH02, CH03, .............CH06: Indicated as numbers of indoor unit connectionset.)SW01B(DIP S/W)SW02B(DIP S/W)7 - SegmentSW02VAuto addressingSW01VData confirmCAUTION- In replacement of the indoor unit PCB, always perform auto address setting again.If power supply is not applied to the indoor unit, operation error occurs.Auto addressing is only possible on the main PCBAuto addressing has to be performed after 3 minutes to improve communication.25Installation