
You also want an ePaper? Increase the reach of your titles
YUMPU automatically turns print PDFs into web optimized ePapers that Google loves.
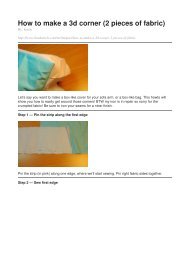
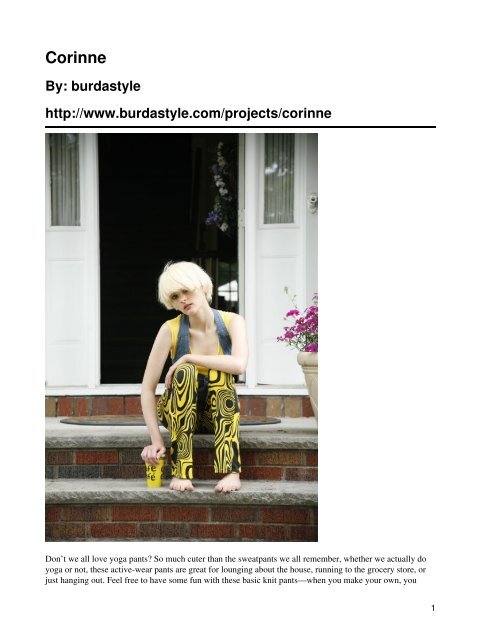
<strong>Corinne</strong>By: burdastylehttp://www.burdastyle.<strong>com</strong>/projects/corinneDon’t we all love yoga pants? So much cuter than the sweatpants we all remember, whether we actually doyoga or not, these active-wear pants are great for lounging about the house, running to the grocery store, orjust hanging out. Feel free to have some fun with these basic knit pants—when you make your own, you1
aren’t limited to the basic grays and blacks and blues offered in the stores. Go crazy, we did!Materials1 3/4 cotton knit jersey, 1 yard cording for waistbandStep 1PATTERN1 Front pant piece 2x2 Back pant piece 2x3 Front yoke 2x4 Back yoke 4xFabric: Bi-elastic jersey fabricStep 22
The patterns can be printed out at the copy shop. If you decide to print them at home, follow the instructions:Paper cut for ANSI A (German DIN A4) prints:The patterns are printed out on 21 sheets with a thin frame. Wait until all sheets are printed out. Arrange thesheets so that they fit together (see additional page with the overview of the prints). Fold the single sheets onthe upper and right edge along the thin frame lines. Begin with the left lower sheet and then tape the framelines together precisely.Step 3ADJUST PATTERN SIZESSelect your size according to the Burda-dimension table: dresses, blouses, jackets and coats according to thebust size, trousers and skirts according to the hip width. Change the pattern to fit your measurements if theydeviate from the Burda-size chart. Cut out the pattern according to your size.Refer to our â’Adjust patterns for mixed sizesâ’ technique3
LENGTHENING OR SHORTENING THE PATTERN PIECESOur pattern is calculated for a height of 5â’ 6â’ (168 cm). If you are taller or shorter, you can adjust thepattern pieces along the lines marked “lengthen or shorten here”. This way the proper fit is maintained.Always adjust all pattern pieces along the same line to the same degree. Cut out the pattern according to yoursize.How to lengthen and shorten pattern pieces:Cut the pattern pieces along the marked lines.To lengthen, slide the two halves of the pattern piece as far apart as necessary.To shorten, overlap the two halves of the pattern piece as far as necessary. Blend the side edges.Step 44
CUTTING OUTFOLD (â’ â’ â’ â’) means: Cut on the fold, the fold being the center of the pattern piece, but never a cutedge or seam. The piece should be cut double, with the fold line forming the center line. Pattern pieces thatare outlined with a broken line in the cutting diagrams are to be placed face down on the fabric. The cuttingdiagrams on the pattern sheet show how the pattern pieces should be placed on the fabric.The cutting diagrams show the placement of the pattern on the fabric.Fabric I, fabric II and tulle.For a single layer of fabric, the pattern pieces are pinned to the right side. For double layers of fabric, theright sides are facing and the pattern pieces are pinned to the wrong side. The pattern pieces that are shownextending over the fold of the fabric in the cutting diagram should be cut last from a single layer of fabric.5
Step 5SEAM AND HEMLINE ALLOWANCES are included on an average:5/8â’ (1.5 cm) for all edges and stitches. Using BURDA copying paper, transfer the lines and signs of thepattern onto the wrong side of the fabric. Instructions can be found in the packaging.INTERFACINGPress the interfacing pieces according to the cutting diagram onto the wrong side of the yoke fabric aroundthe button holemarkings.SewingWhile sewing, the right sides of the fabric are facing.Transfer all lines of the pattern onto the right side of the fabric using basting stitches.Instructions for the use of stretchable fabricsUsing an overlock machine will produce the best results with stretchable fabric. Overlocked seams stretch, sothat they donâ’t rip when worn. If you are not able to use an overlock machine, stitch the seams with aspecial elastic thread or a narrow zigzag stitch. The thread tension should not be too tight. Working withknits requires a ballpoint needle for the sewing machine. Its tip wonâ’t damage the fabric.Step 66
PANTSSide seams / inner pant leg seamsPosition the front pant pieces on the back pant pieces, right sides facing. Pin the side seams (seam 1) and theinner pant leg seams. Stitch the seams. Neaten allowances and press the back pant pieces (a).WAISTBANDPosition the two waistbands together, right sides facing; stitch center back seam. Press allowances (b).Stitch the button holes along the front waistband, supporting it with interfacing. Snip in the button holes fromthe outside waistband ©.Position the front waistband to the back waistband, right sides facing. Stitch the side seams (seam 3). Pressallowances apart (d).Position the waistbands together, right sides facing; the side seams and center back seams meet. Stitch thetop waistband edges together. Trim allowances. Turn the waistband. Pin the top edges and press. Pin thebottom waistband edges together (e).Pin the waistband on the top pant edge so that the front waistband (including the button holes) is positionedon the front pant piece; the front center of the waistband meets the center seam of the pant. Side seams andcenter back seams meet. Topstitch the waistband using a flat adjusted zigzag stitch or elastic stitch, therebystretching out the seam line. Neaten allowances (f).Step 77
StringPull the string though the waistband using a safety pin. Knot string ends. Note: to prevent the string fromfraying out wrap the string ends in tape (a).HEMLINETurn the hemline allowance inside and pin. Press the edge. Topstitch the seam _â’ (1 cm) wide along thehemline.To topstitch the hemline use a TWIN NEEDLE. Stitch onto the right fabric side with 2 needle threads and 1bobbin thread using a straight stitch adjustment. The bobbin threads stitch zigzag. In that way the fabricwonâ’t stretch when stitching and the seam stays flexible (b).<strong>Corinne</strong>8