
Create successful ePaper yourself
Turn your PDF publications into a flip-book with our unique Google optimized e-Paper software.
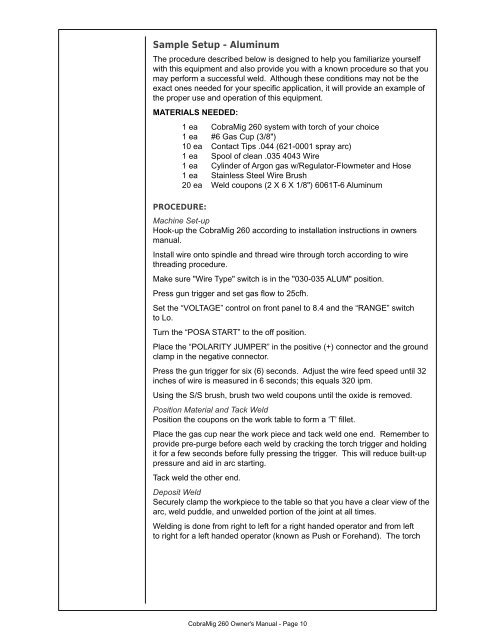
Sample Setup - AluminumThe procedure described below is designed to help you familiarize yourselfwith this equipment and also provide you with a known procedure so that youmay perform a successful weld. Although these conditions may not be theexact ones needed for your specifi c application, it will provide an example ofthe proper use and operation of this equipment.MATERIALS NEEDED:1 ea CobraMig 260 system with torch of your choice1 ea #6 Gas Cup (3/8")10 ea Contact Tips .044 (621-0001 spray arc)1 ea Spool of clean .035 4043 Wire1 ea Cylinder of Argon gas w/Regulator-Flowmeter and Hose1 ea Stainless Steel Wire Brush20 ea Weld coupons (2 X 6 X 1/8") 6061T-6 AluminumPROCEDURE:Machine Set-upHook-up the CobraMig 260 according to installation instructions in ownersmanual.Install wire onto spindle and thread wire through torch according to wirethreading procedure.Make sure "Wire Type" switch is in the "030-035 ALUM" position.Press gun trigger and set gas fl ow to 25cfh.Set the “VOLTAGE” control on front panel to 8.4 and the “RANGE” switchto Lo.Turn the “POSA START” to the off position.Place the “POLARITY JUMPER” in the positive (+) connector and the groundclamp in the negative connector.Press the gun trigger for six (6) seconds. Adjust the wire feed speed until 32inches of wire is measured in 6 seconds; this equals 320 ipm.Using the S/S brush, brush two weld coupons until the oxide is removed.Position Material and Tack WeldPosition the coupons on the work table to form a ‘T’ fi llet.Place the gas cup near the work piece and tack weld one end. Remember toprovide pre-purge before each weld by cracking the torch trigger and holdingit for a few seconds before fully pressing the trigger. This will reduce built-uppressure and aid in arc starting.Tack weld the other end.Deposit WeldSecurely clamp the workpiece to the table so that you have a clear view of thearc, weld puddle, and unwelded portion of the joint at all times.Welding is done from right to left for a right handed operator and from leftto right for a left handed operator (known as Push or Forehand). The torchCobraMig 260 Owner's Manual - Page 10