
You also want an ePaper? Increase the reach of your titles
YUMPU automatically turns print PDFs into web optimized ePapers that Google loves.
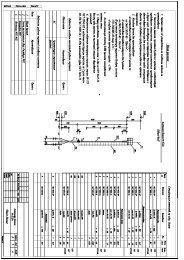
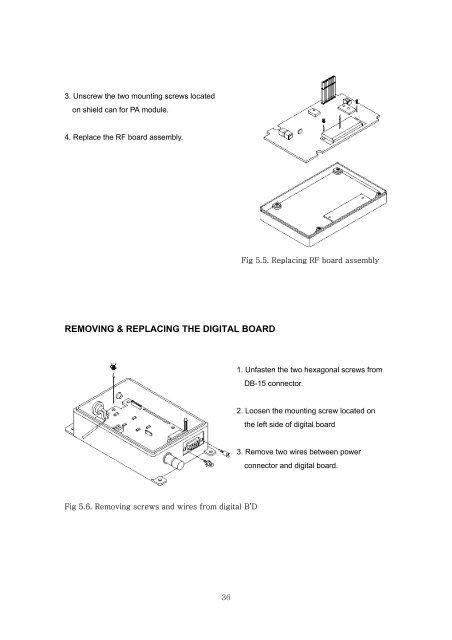
3. Unscrew the two mounting screws locatedon shield can for PA module.4. Replace the RF board assembly.Fig 5.5. Replacing RF board assemblyREMOVING & REPLACING THE DIGITAL BOARD1. Unfasten the two hexagonal screws fromDB-15 connector.2. Loosen the mounting screw located onthe left side of digital board3. Remove two wires between powerconnector and digital board.Fig 5.6. Removing screws and wires from digital B’D36