LESSON PLAN - ED101 - Boston University
LESSON PLAN - ED101 - Boston University
LESSON PLAN - ED101 - Boston University

Create successful ePaper yourself
Turn your PDF publications into a flip-book with our unique Google optimized e-Paper software.
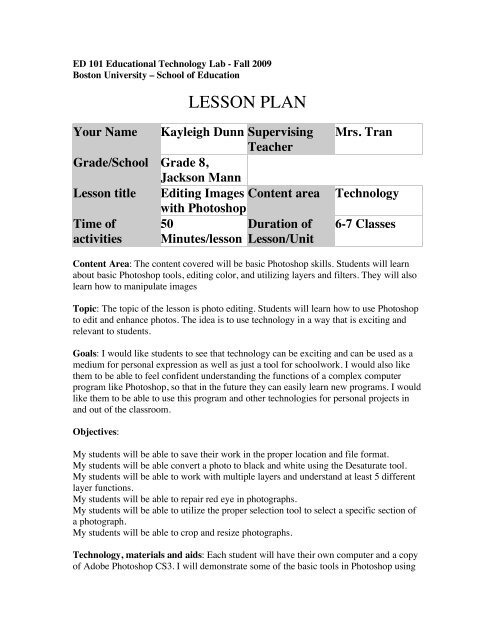
ED 101 Educational Technology Lab - Fall 2009<strong>Boston</strong> <strong>University</strong> – School of Education<strong>LESSON</strong> <strong>PLAN</strong>Your Name Kayleigh Dunn SupervisingTeacherGrade/School Grade 8,Jackson MannLesson title Editing Images Content areawith PhotoshopTime of 50Duration ofactivities Minutes/lesson Lesson/UnitMrs. TranTechnology6-7 ClassesContent Area: The content covered will be basic Photoshop skills. Students will learnabout basic Photoshop tools, editing color, and utilizing layers and filters. They will alsolearn how to manipulate imagesTopic: The topic of the lesson is photo editing. Students will learn how to use Photoshopto edit and enhance photos. The idea is to use technology in a way that is exciting andrelevant to students.Goals: I would like students to see that technology can be exciting and can be used as amedium for personal expression as well as just a tool for schoolwork. I would also likethem to be able to feel confident understanding the functions of a complex computerprogram like Photoshop, so that in the future they can easily learn new programs. I wouldlike them to be able to use this program and other technologies for personal projects inand out of the classroom.Objectives:My students will be able to save their work in the proper location and file format.My students will be able convert a photo to black and white using the Desaturate tool.My students will be able to work with multiple layers and understand at least 5 differentlayer functions.My students will be able to repair red eye in photographs.My students will be able to utilize the proper selection tool to select a specific section ofa photograph.My students will be able to crop and resize photographs.Technology, materials and aids: Each student will have their own computer and a copyof Adobe Photoshop CS3. I will demonstrate some of the basic tools in Photoshop using
the projector, and they can follow along by copying me on their computers. They willalso be able to access my website to learn about different effects they can use in theirpictures.Procedures/methods:Overview: The lessons will be a series of demonstrations that I do on the overheadprojector while students follow along on their own computers to understand the skills Iam demonstrating. Students will then use my website to explore different effects that canbe achieved and view tutorials on how to achieve these effects, and apply them to a finalproject.Introduction: I will start by showing them the basic tools in Photoshop on the projectorsuch as selection, brushes, text, and cropping. I will have them follow along at theircomputers so they can engage in the activities as I show them on the screen.Activities:My cooperating teacher and I will photograph all of the students so that the students willhave photographs to work with for a final project.On the projector, I will show the students the tools in the sidebar and demonstrate theirfunctions.The students will follow along, using the tools on their own computers as I demonstrate.I will show the students how to save their work in the proper file format.Students will practice saving their work properly.I will demonstrate the repair functions of Red Eye Remover andI will do a demonstration of the different color functions in Photoshop: Hue/Saturation,Brightness/Constrast, and Desaturate.Students will experiment with the color functions on a photograph to learn about andunderstand them, and how to apply them to photographs.I will demonstrate the usage of layers and what purpose they serve in image editing.I will demonstrate how to use selection, resize, and copy and paste to manipulate photos.Students can practice this by inserting the picture of themselves into an image found onthe internet. They will use the internet as a resource to find appropriate pictures forclassroom and personal use.Students will explore my website to learn about functions of Photoshop and see specificexamples about what tools do.Students can practice applying these effects to images to understand how they work.Follow-up: These lessons will be applied to a final project, where students will edit thephotograph of themselves in a manner that expresses their personality, in a manner thatincorporates coloring skills, layers and potentially filters. The website will be a point ofreference while they work on it, so they can have tutorials to remind them of the skillsthey were taught in class.Technology Frameworks:1.18 Use Web browsing to access information (e.g., enter a URL, access links, createbookmarks/favorites, print Web pages).
2.3 Explain fair use guidelines for using copyrighted materials (e.g., images, music,video, text) in school projects.2.7 Explain how technology can support communication and collaboration, personal andprofessional productivity, and lifelong learning.Quiz1. Which tool creates a blend of the foreground and background?A. The Blur ToolB. The Gradient ToolC. The Eyedropper Tool2. What changes the difference between the brightest and darkest colors in an image?A. ContrastB. SaturationC. Brightness3. What do adjust to change the transparency of a layer?A. HueB. ContrastC. Opacity4. What type of tool is necessary to manipulate the background of an image?A. Brush ToolB. Selection ToolC. Gradient Tool5. Which type of layer do you use when dealing with pictures that are too light or toobright?A. Screen LayerB. Overlay LayerC. Multiply Layer